 kitchenstroy.com
The American preference for plywood cabinets faces increasing challenge from European-engineered particle board, with laboratory tests showing 3-5x...
How To Build a 3D Cube Cutting Board
Project details
Skill
3 out of 5Moderate
Cost
Free and up
Estimated Time
4 hours
With its eye-catching optical illusion, a 3D cube cutting board can be a great conversation piece as well as a practical kitchen tool. In the video above, This Old House general contractor Tom Silva builds this impressive cutting board with host Kevin O’Connor. “I’ve seen these in woodworking magazines,” Silva says. “And I thought it would be fun to try it out.”
We’ll walk you through the process in more detail in our guide below.
Selecting Wood for Your 3D Cube Cutting Board
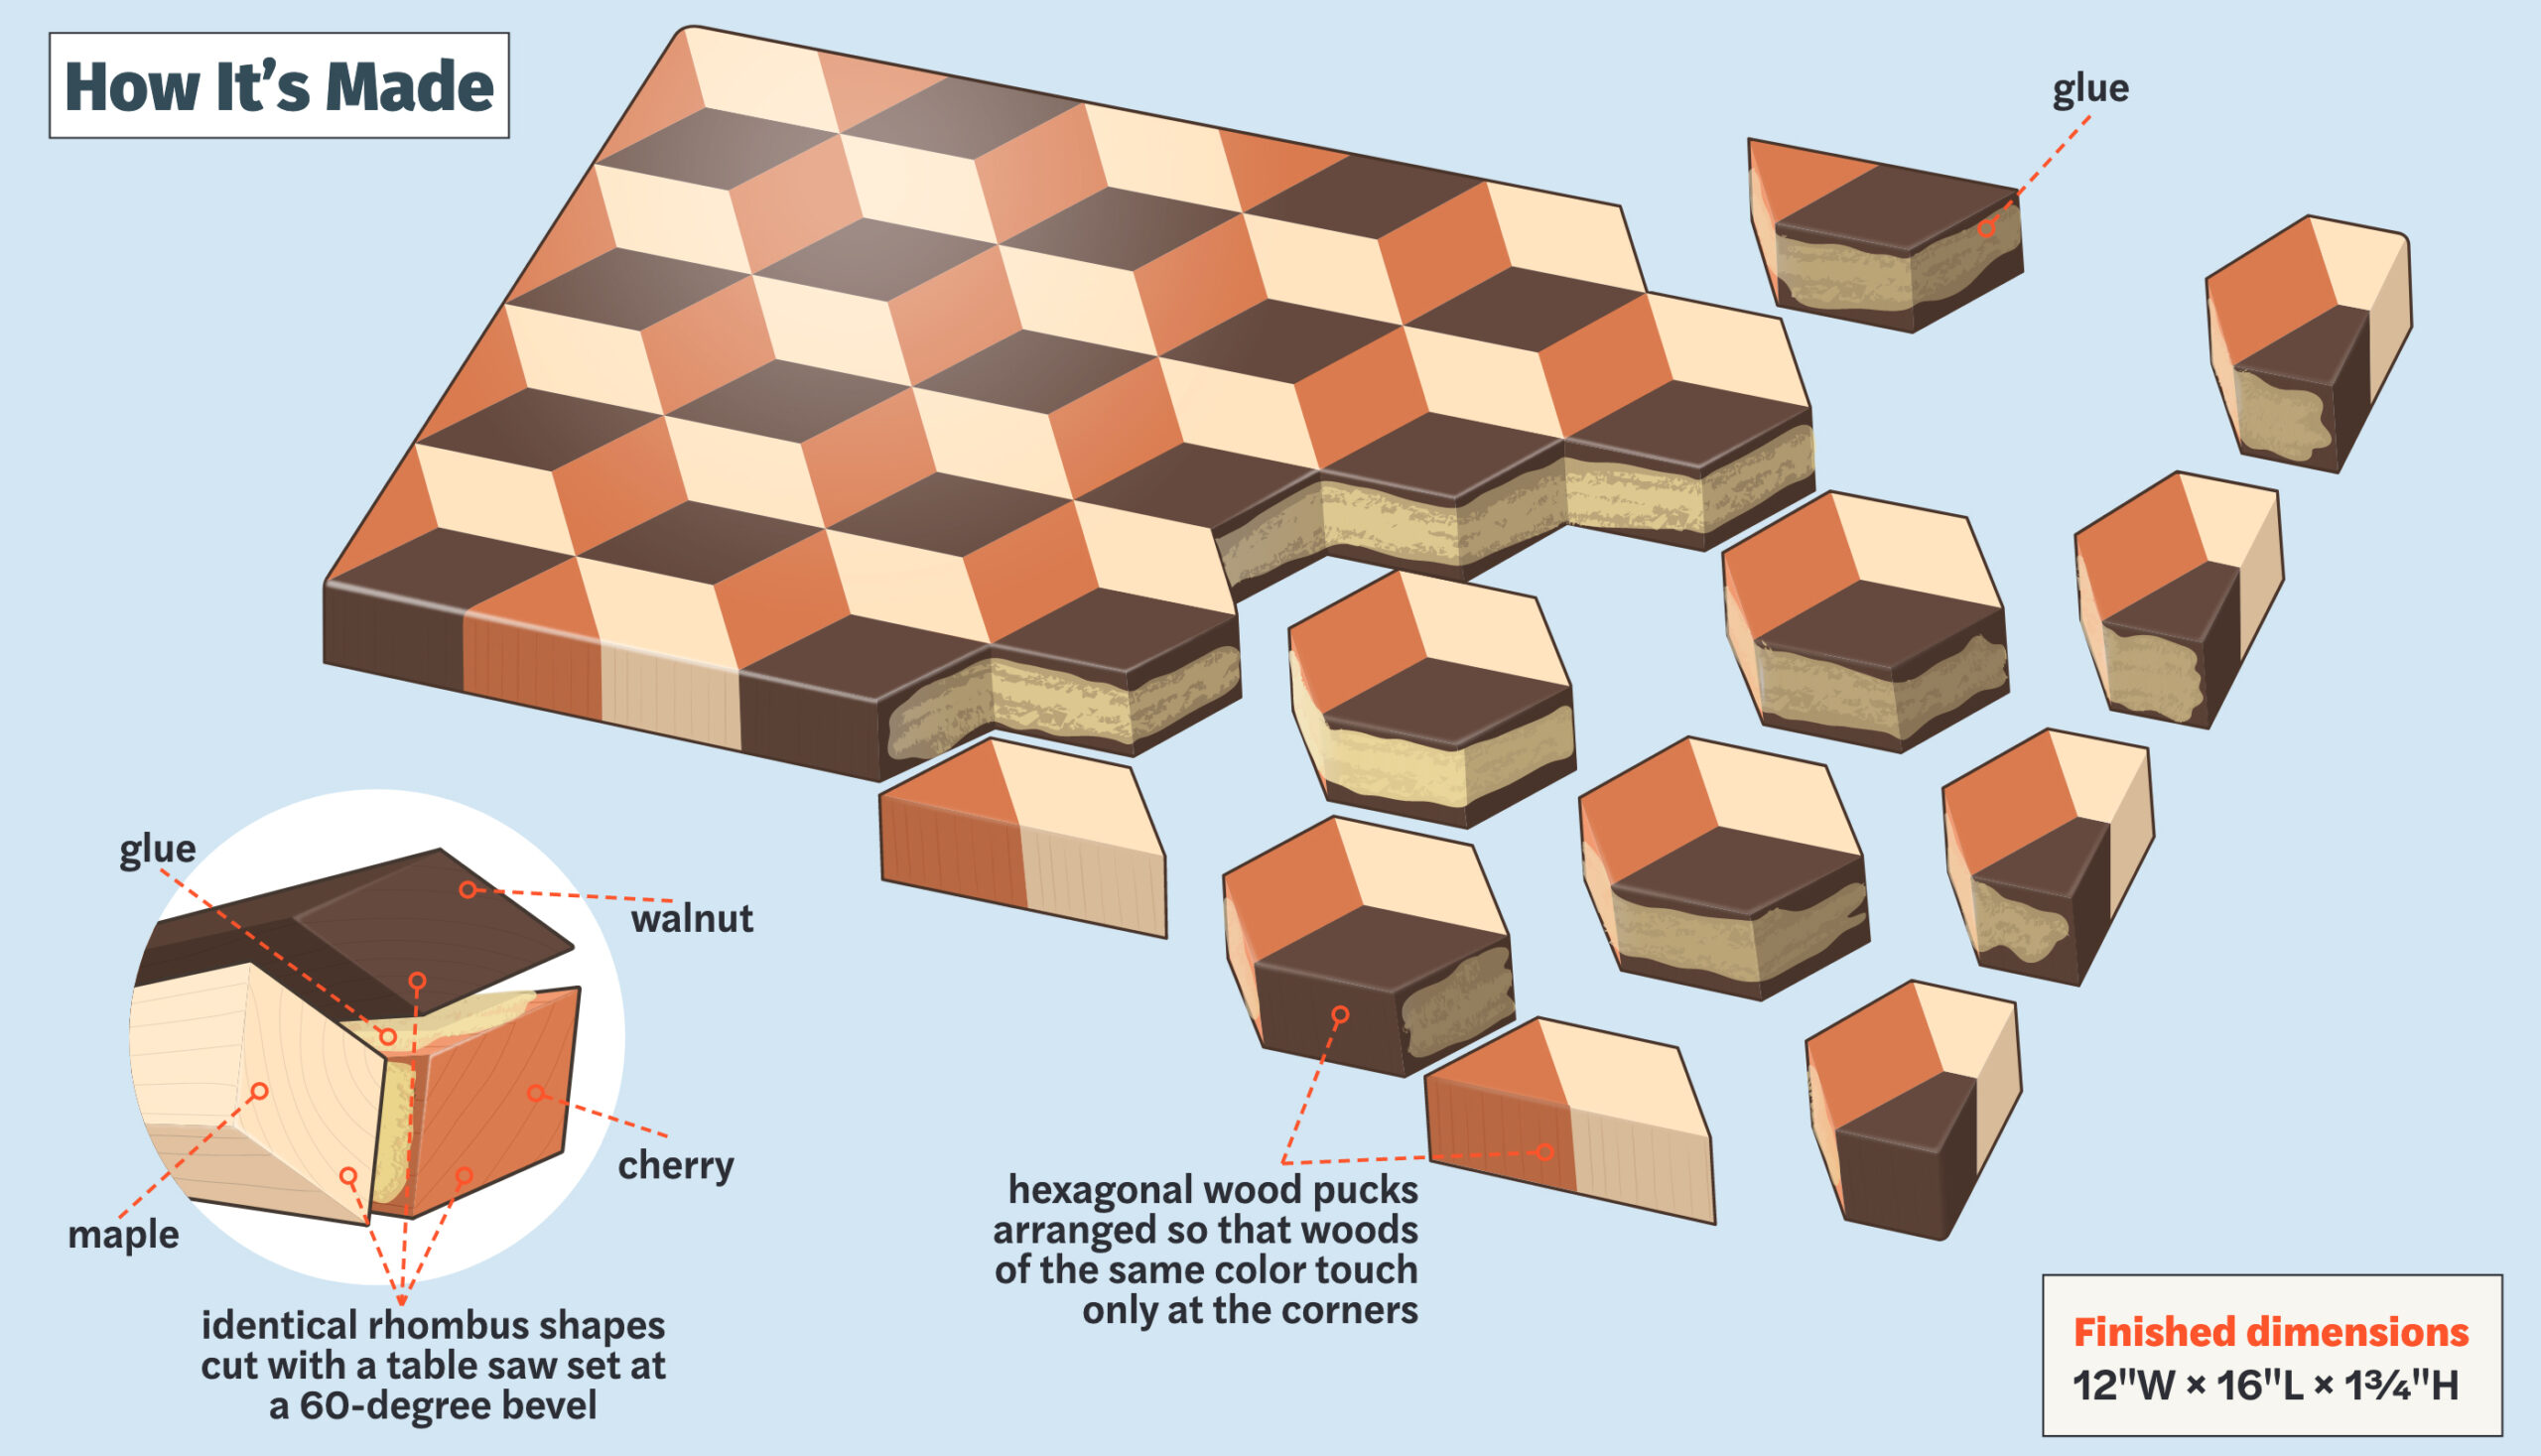
For this project, Silva used three contrasting hardwoods: walnut, cherry, and maple. He chose them because he already had the leftover pieces in his garage and because their variety of shades lend themselves nicely to the 3D cube effect. These species are durable and give the color variation you need to create the illusion of depth and shadow in the cube pattern.
When choosing wood for your cutting board, consider the following:
- Food safety: Verify that the wood you choose is safe for food contact.
- Grain pattern: Straight-grained woods allow for clean cuts.
- Hardness: Choose hardwoods that can withstand repeated knife use.
- Moisture resistance: Go for woods that don’t absorb water easily.
Materials
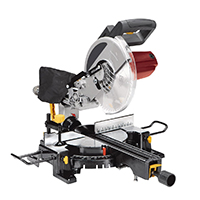
To cut the angles of the boards, Silva used a combination of a Kapex KS 120 sliding compound miter saw manufactured by Festool and an industrial table saw from SawStop. Silva and O’Connor secured everything together using wood glue from Gorilla Glue.
All other materials required for the project, including sandpaper and mineral oil, can be found at home centers and woodworking supply stores. Here’s what you’ll need:
- 6⁄4×8 clear walnut, 30 inches long
- 6⁄4×8 clear maple, 30 inches long
- 6⁄4×8 clear cherry, 30 inches long
- Hot-melt glue
- Water-resistant glue
- 1 1⁄2-inch-wide painter’s tape
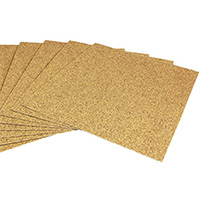
- 120- and 220-grit sandpaper
- Cutting board oil
- Safety glasses
- Ear protection
- Rags
Tools
Tools & Materials
 Thickness planer
- Table saw
- Tape measure
- Pencil
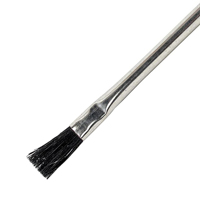
- Small brush for glue
- Miter saw
- Sandpaper
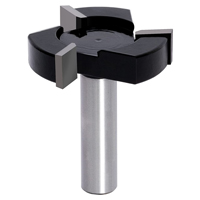
- Router
- Wide planer router blade
- Roundover router bit
- Putty knife
- Track saw


3D Cube Cutting Board Plans
You’ll need to prepare the wood before you begin cutting and assembling the board.
Planing and Squaring
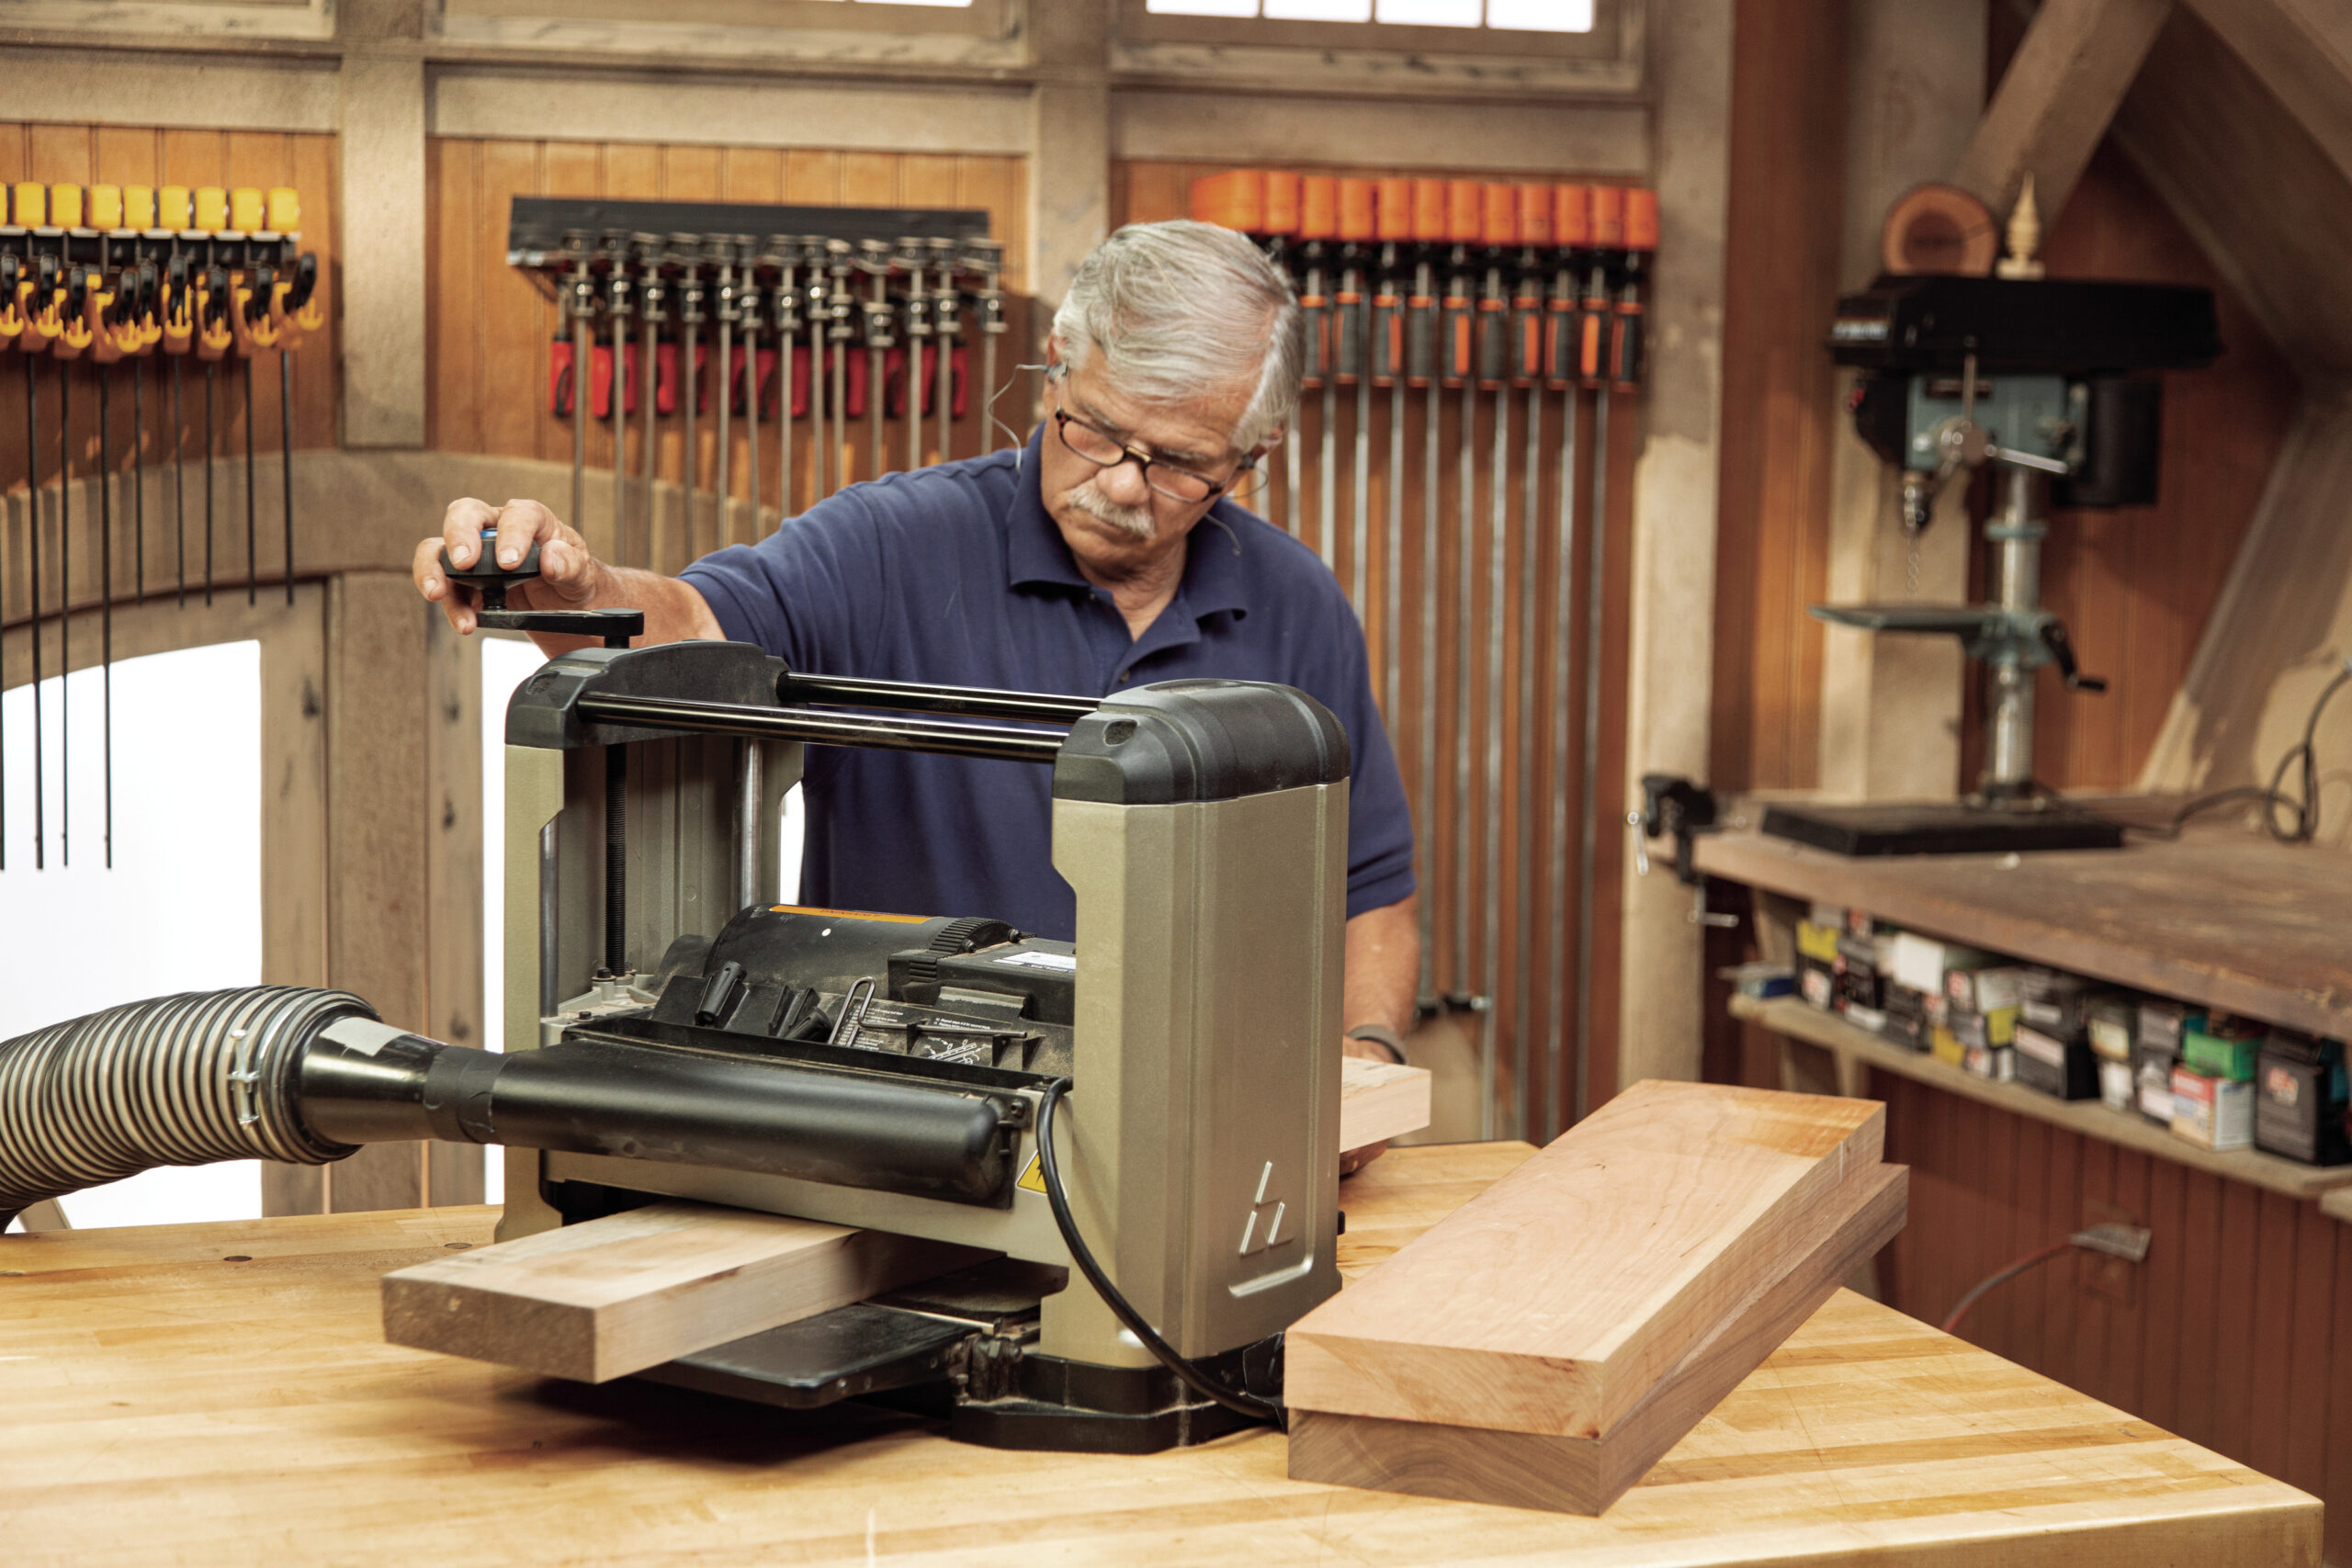
Start by running each board through a thickness planer to flatten and smooth each face to uniform thickness—we recommend between 1 1⁄4 and 1 3⁄8 inches. If you don’t have access to a planer, many hardwood suppliers offer this service for a fee. Then use a track saw (or a circular saw guided by a straightedge) to rip one edge of each board straight and square.
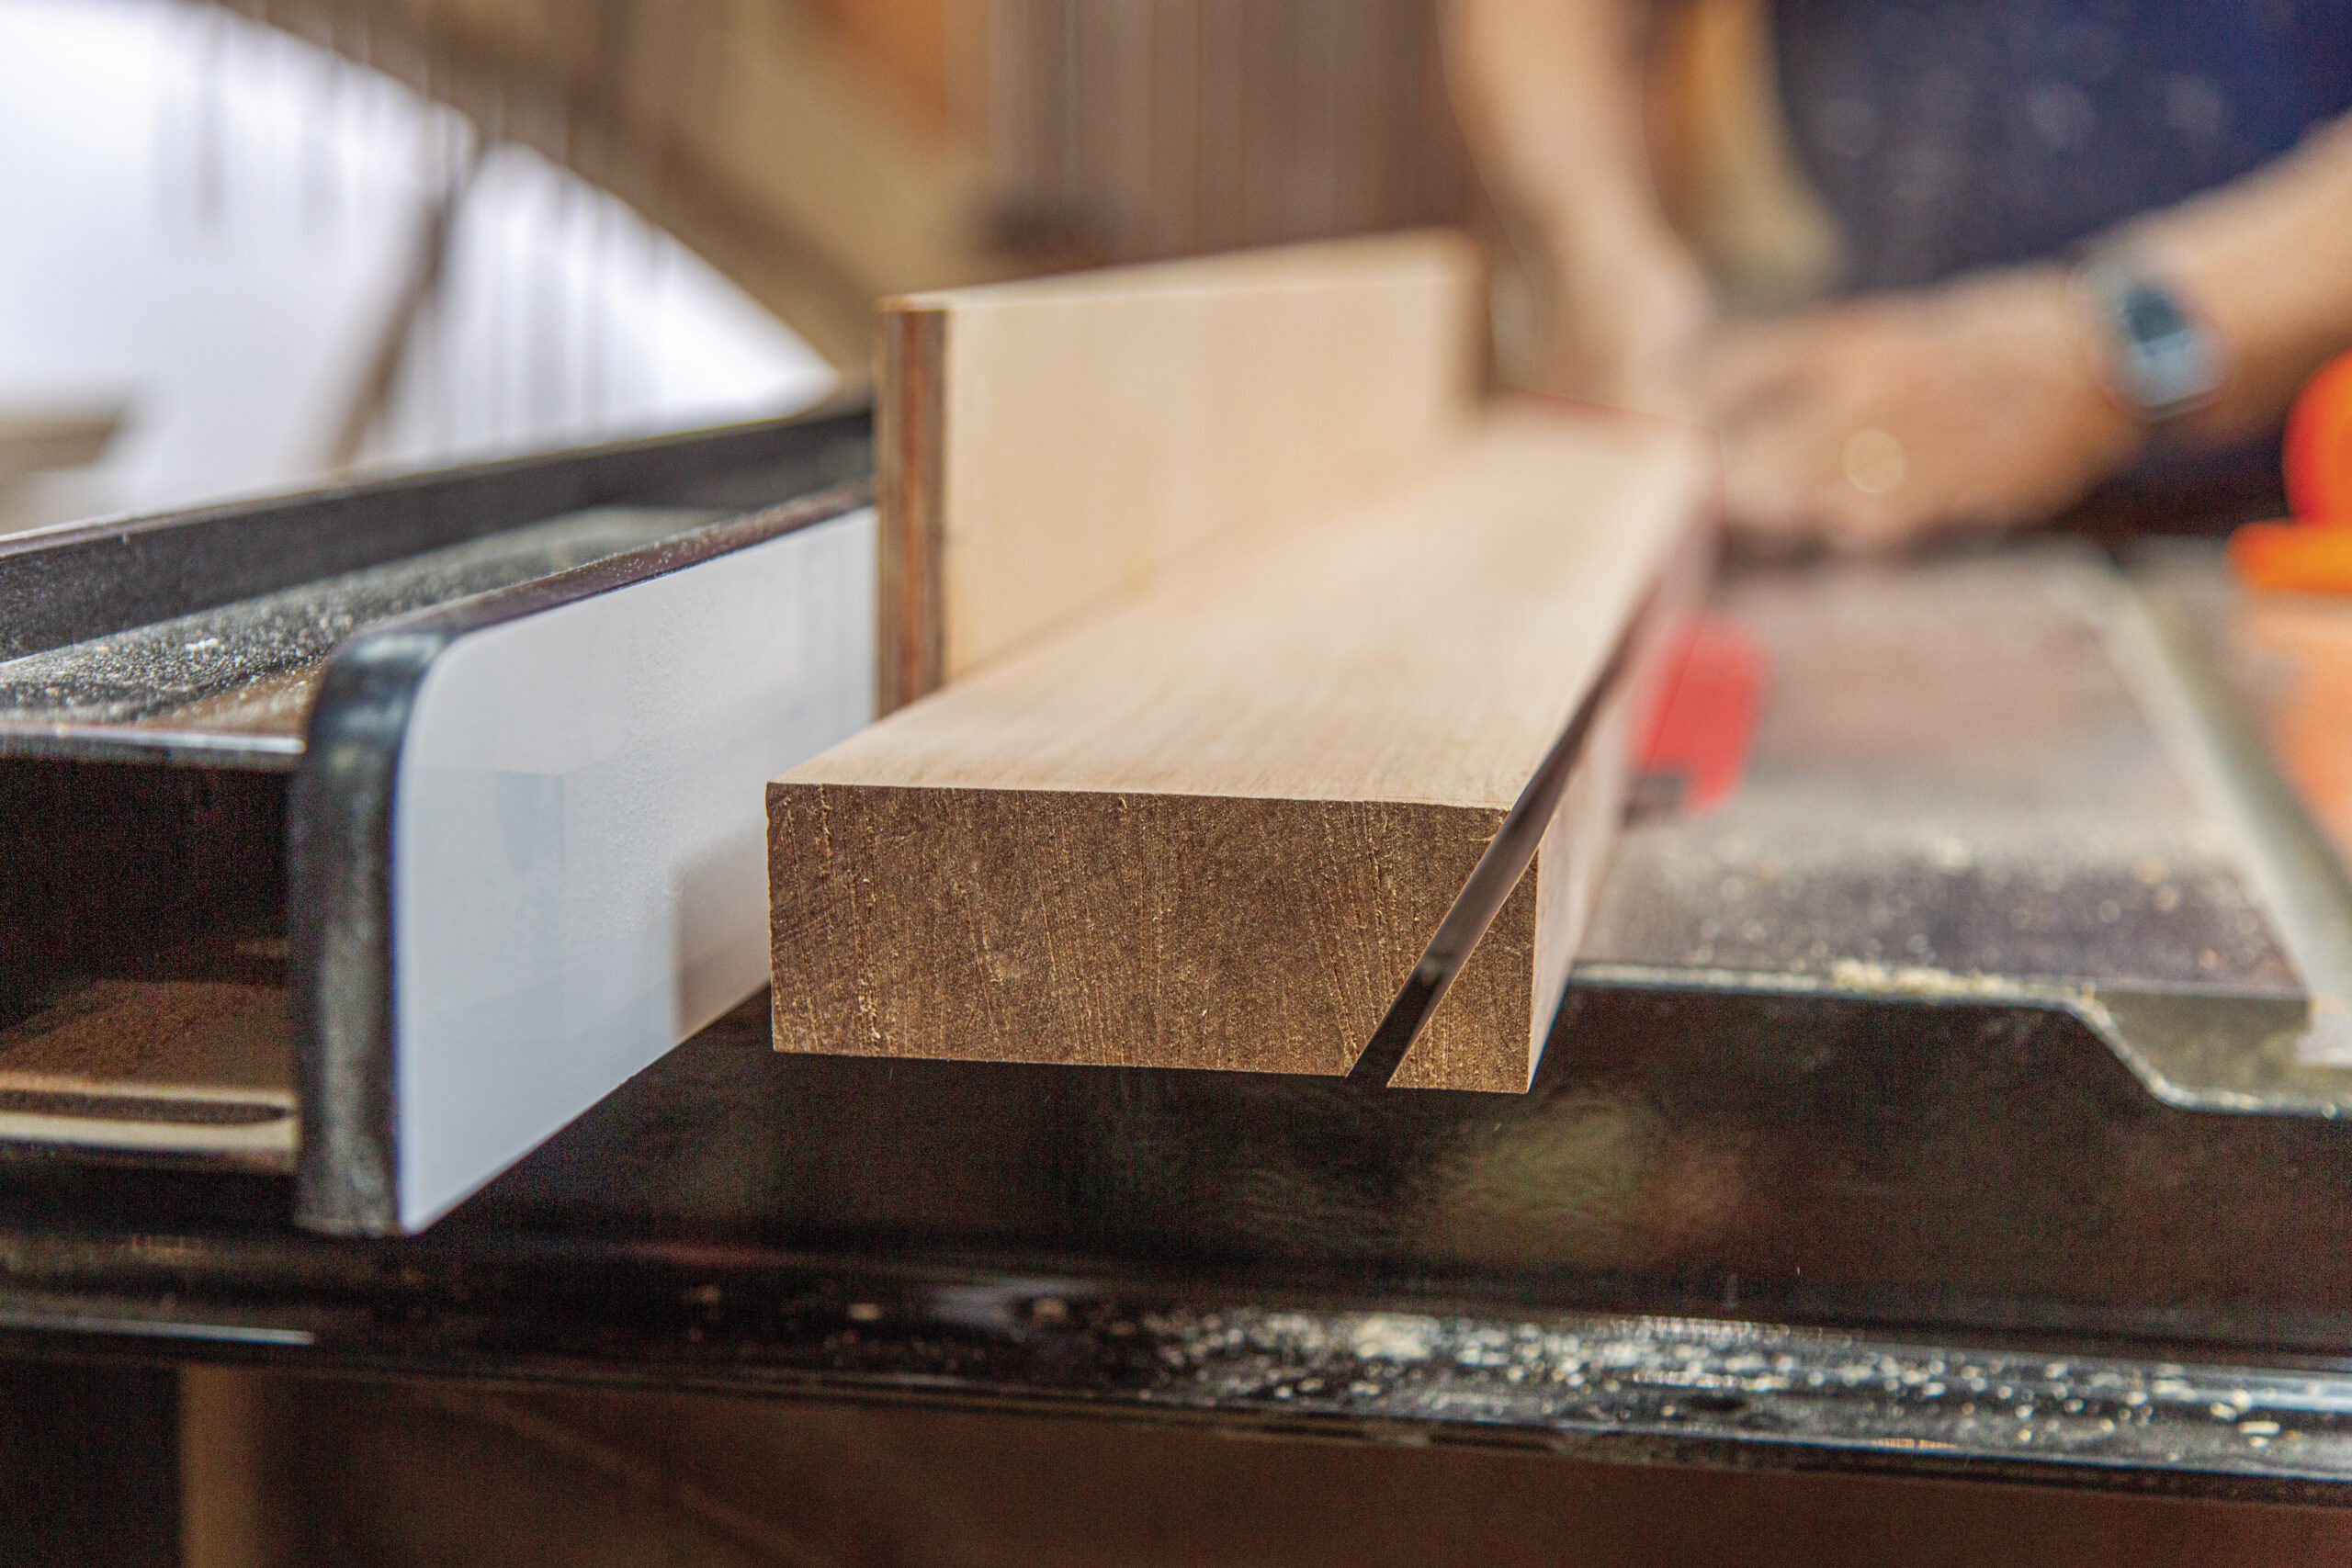
Ripping the First Bevels
Tip: Precise Bevel Cuts
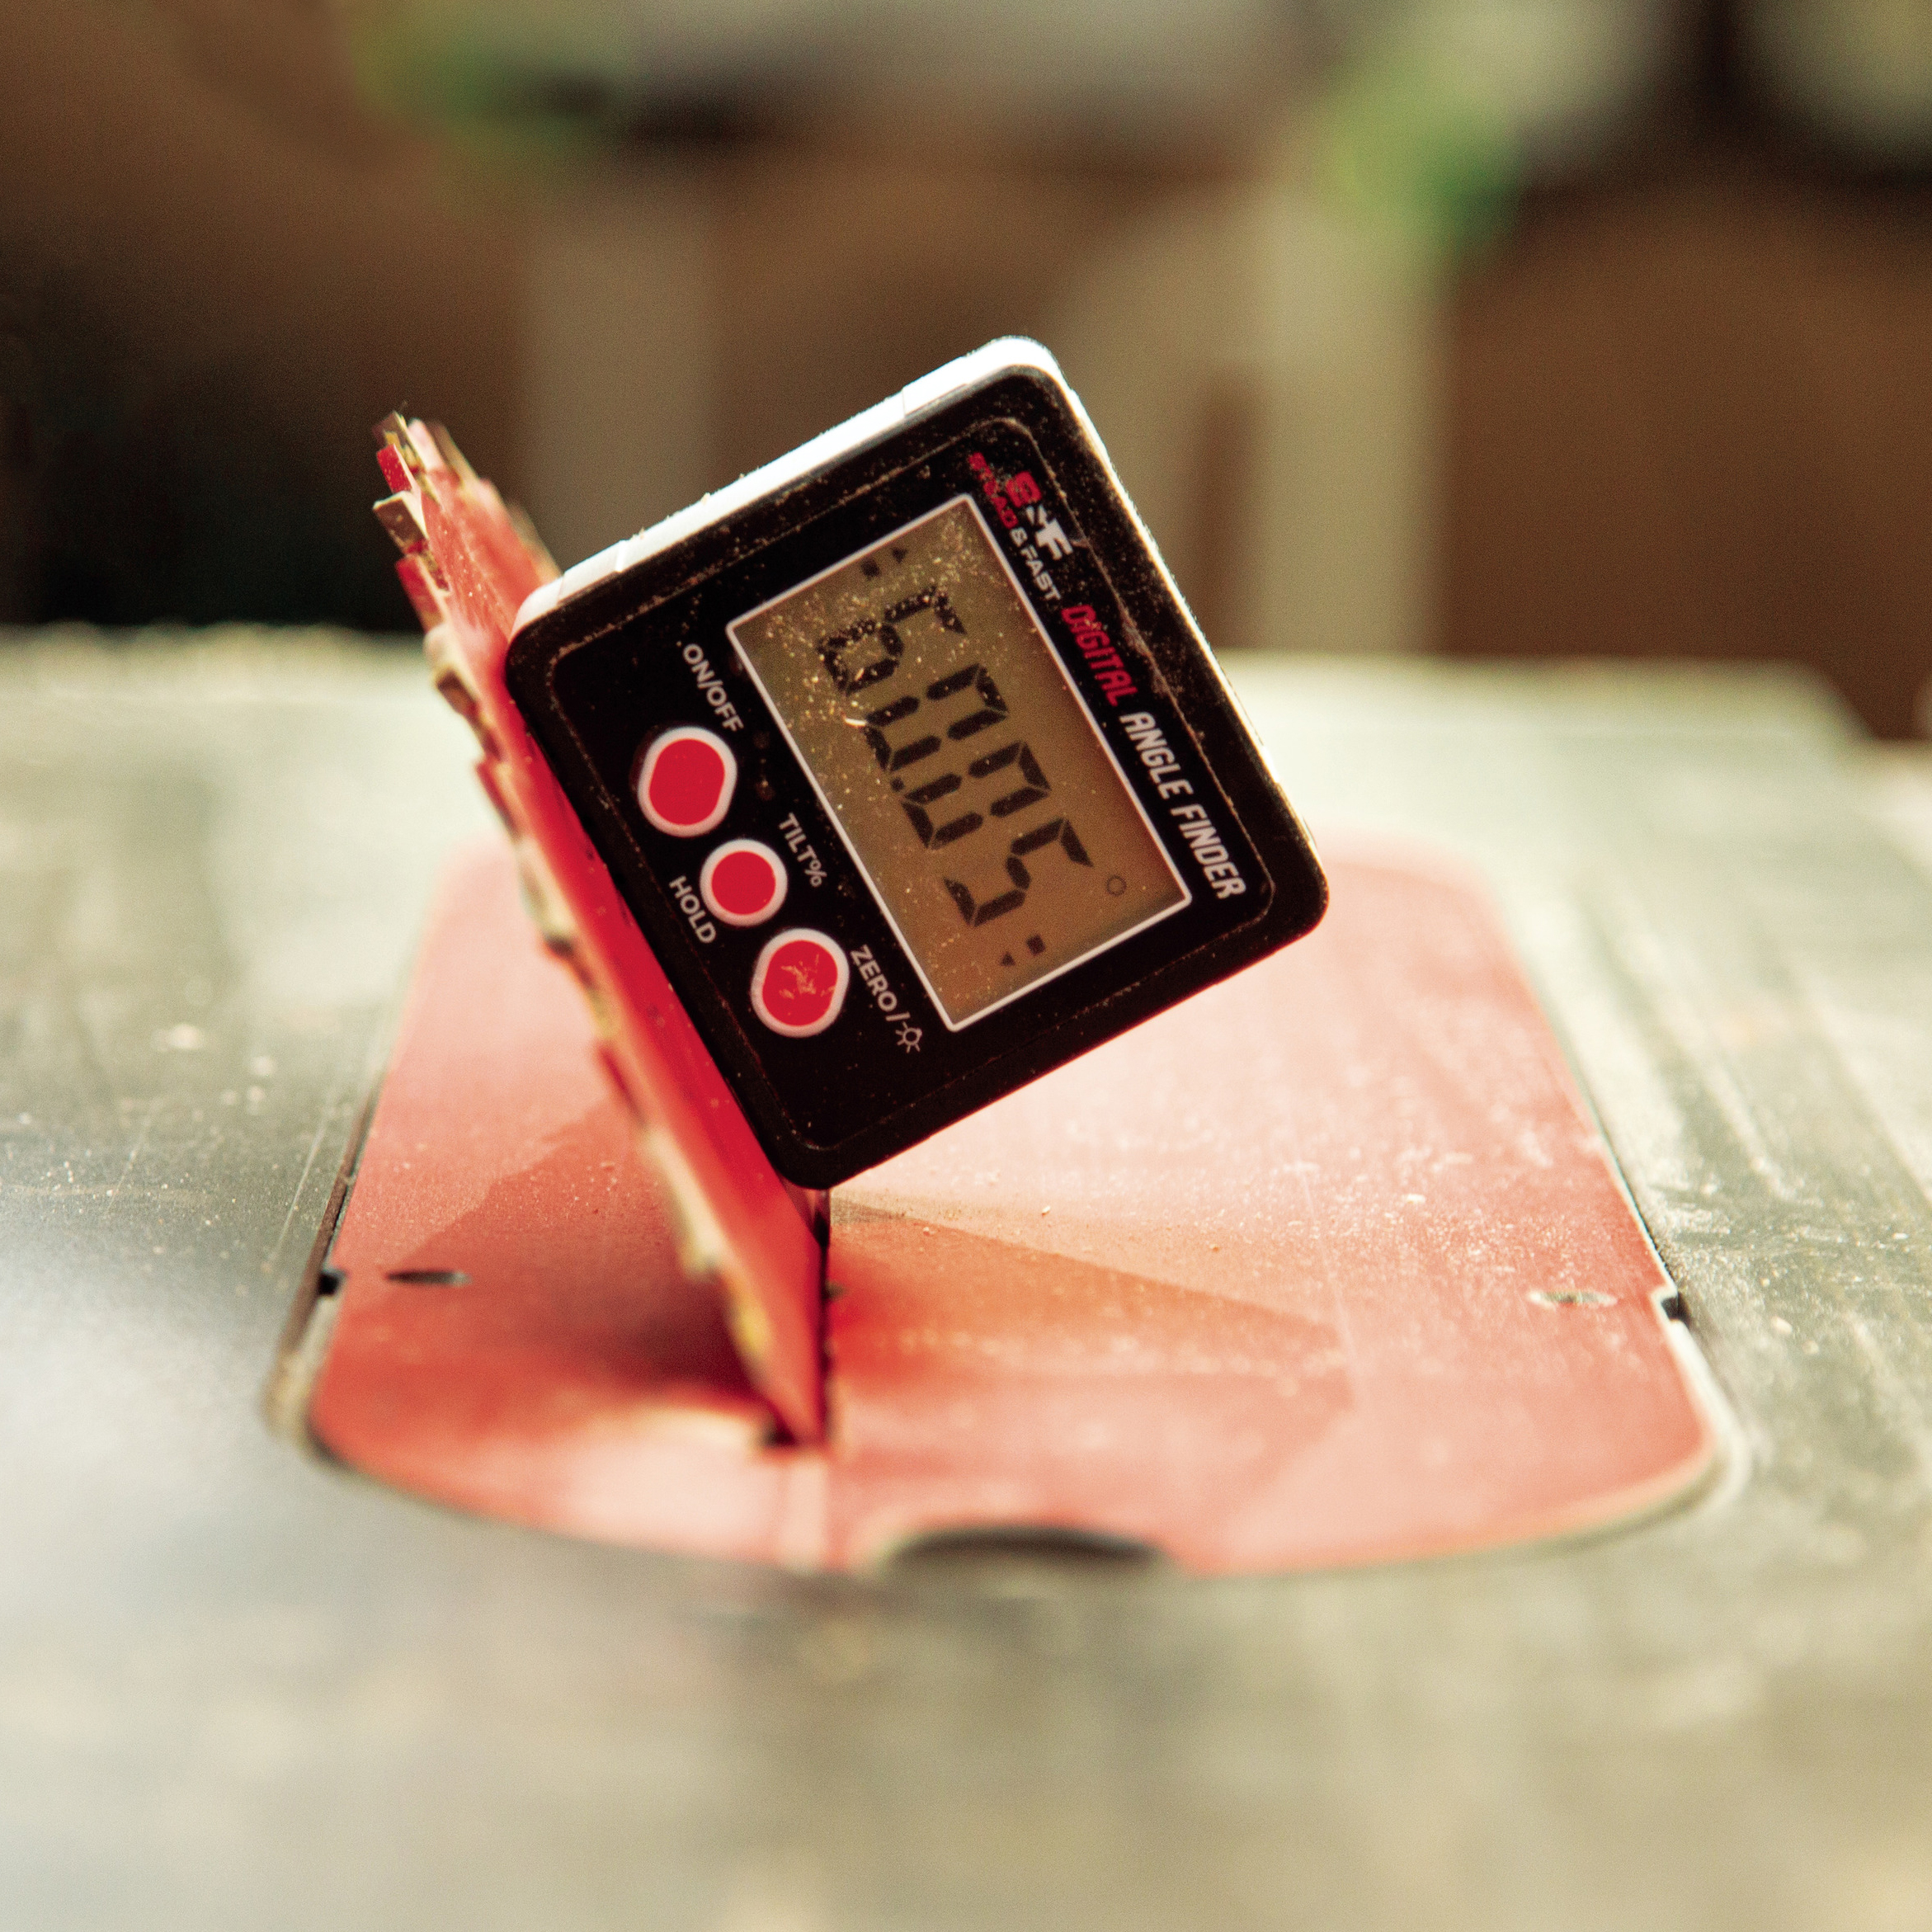
For this project, the table saw blade has to be set at exactly 60 degrees—but you can’t rely on the saw’s bevel adjustment to give the needed accuracy. You can get it with a metal protractor, a bevel gauge, and test cuts. But you can get it quickly with a magnetic digital angle finder like the S&F Stead & Fast (amazon.com).
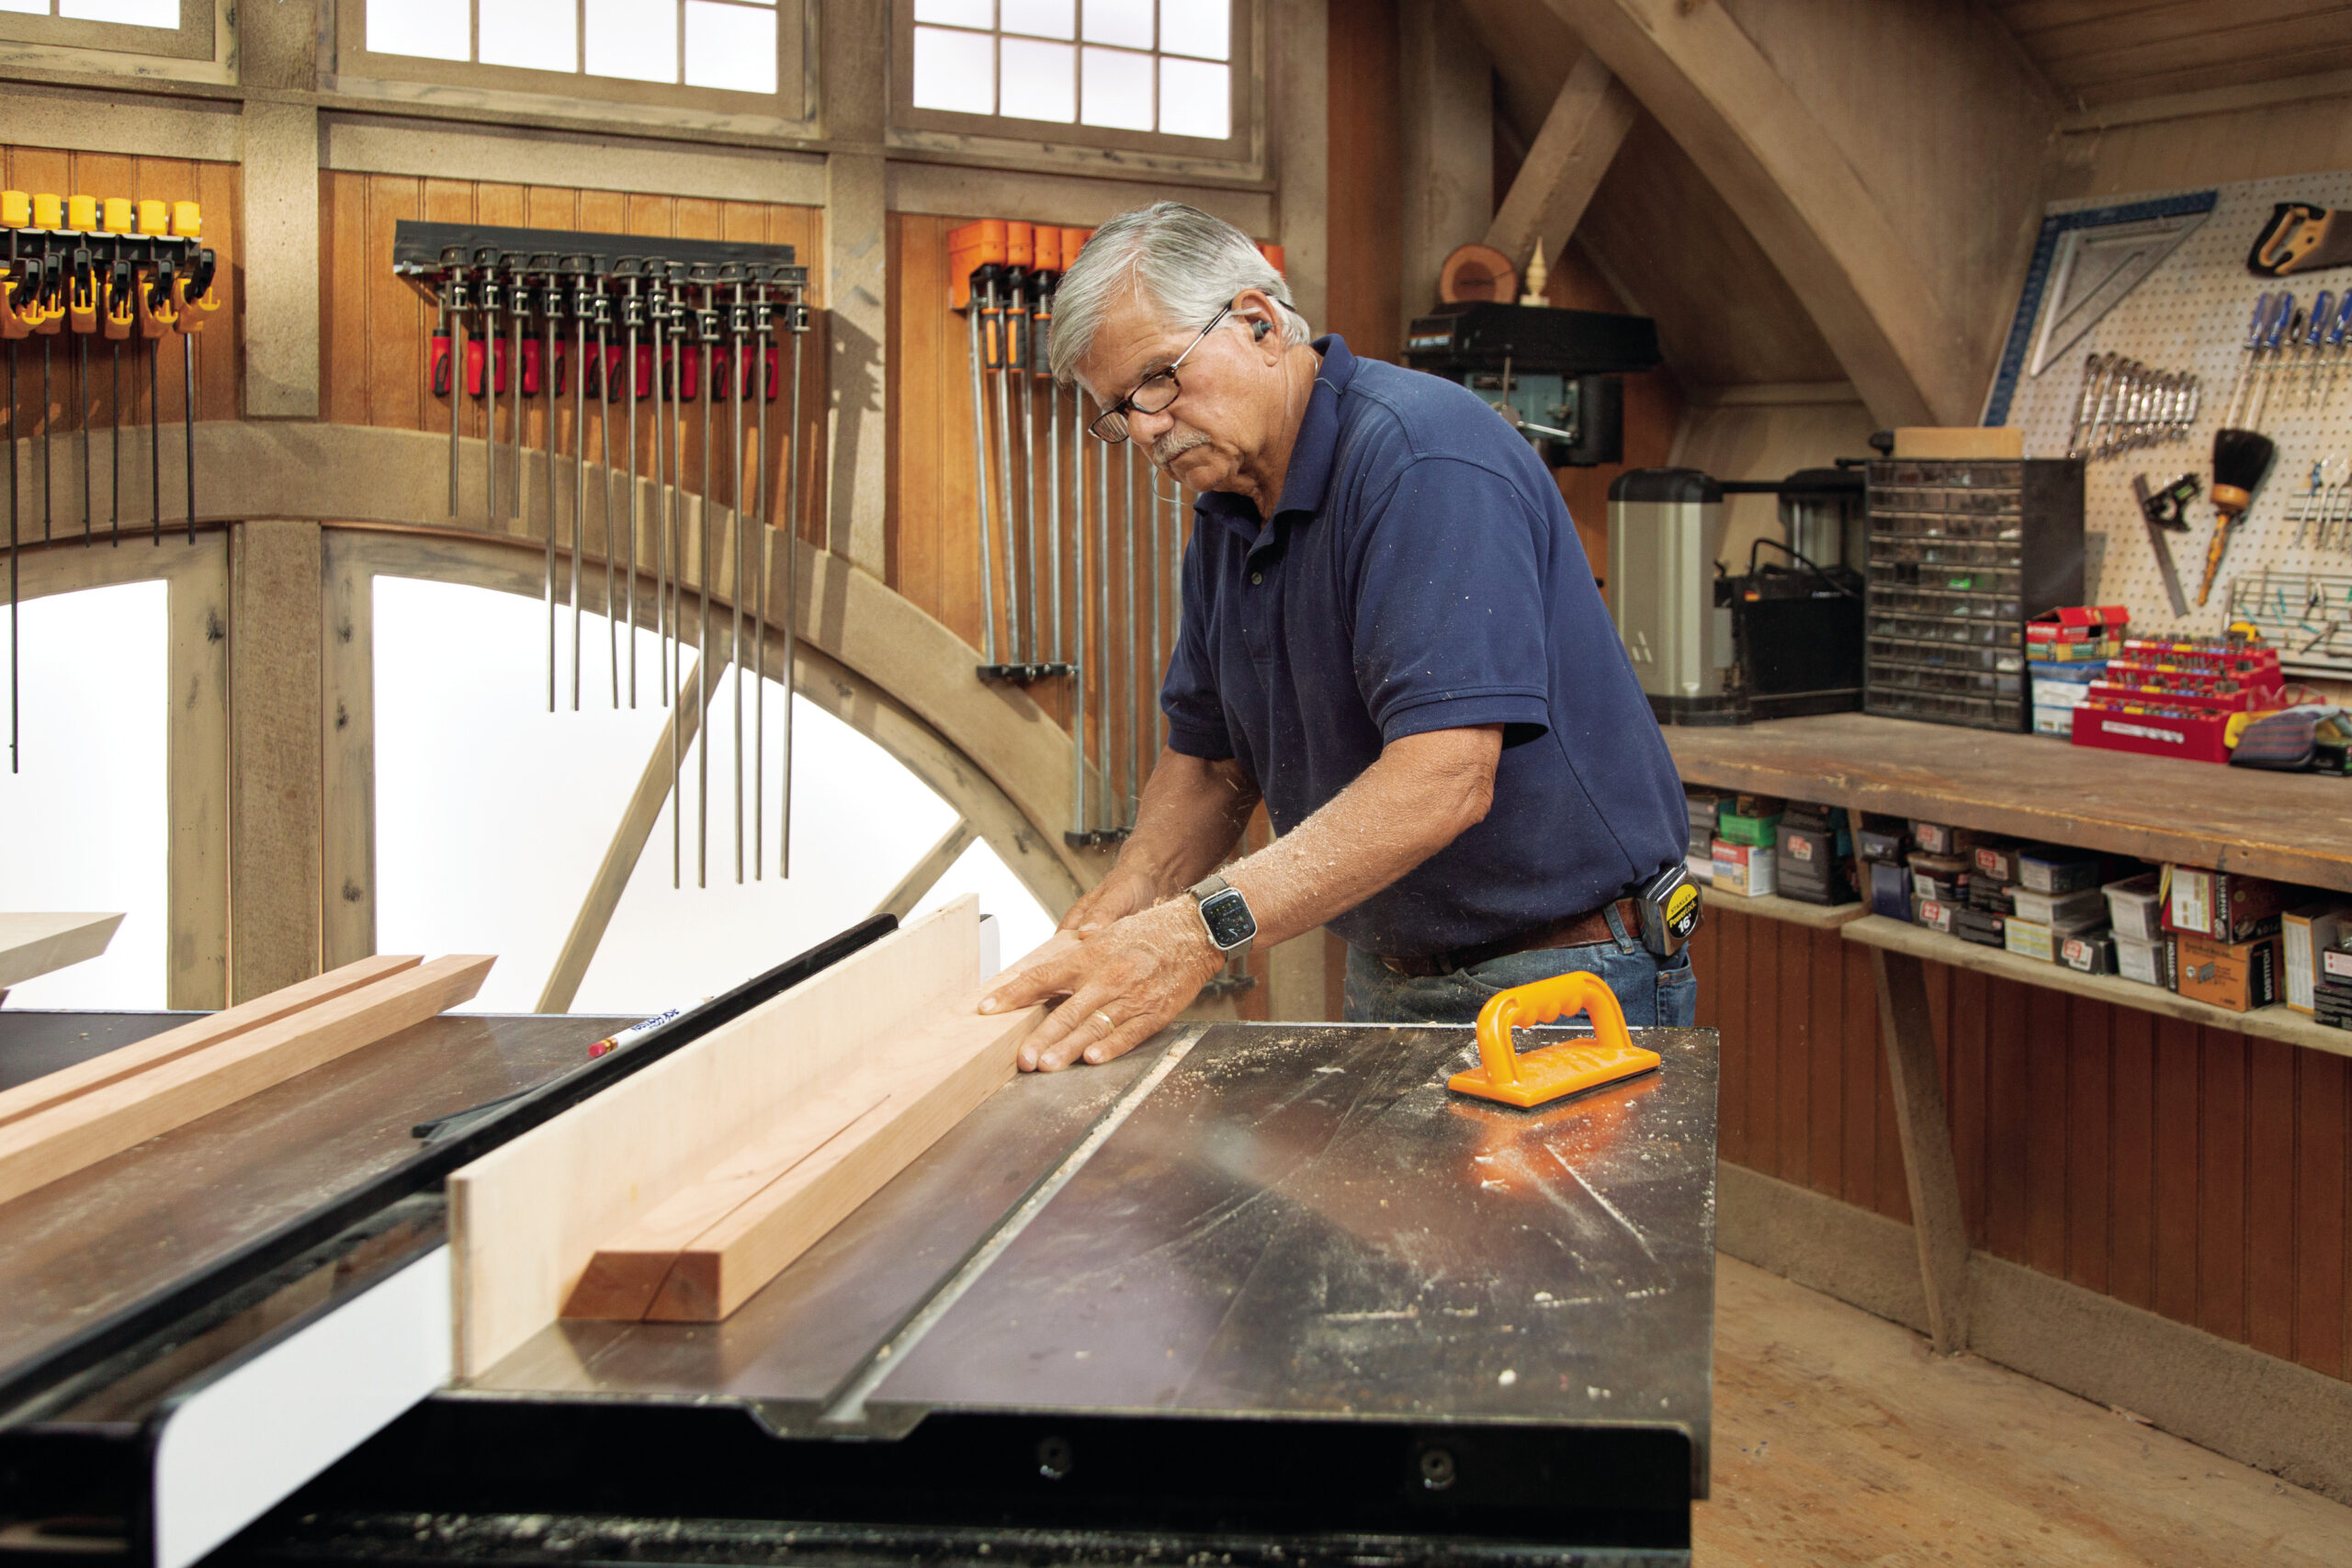
Tilt your table saw blade to a 60-degree angle. Silva suggests using a magnetic digital angle finder or a protractor and bevel gauge to verify the angle. Using hot-melt glue, attach a straight board to the saw’s fence as an auxiliary guide. Its bottom edge should sit flush with the table. Place the straightened workpiece edge against this auxiliary fence and rip a 60-degree bevel into its opposite edge. Bevel the remaining boards the same way.
Creating the Rhombus Shapes
After cutting the first bevel, mark a cutline on one end of each workpiece to complete the rhombus section. Measure all sides to make sure they’ll be equal after cutting. Adjust the saw’s fence to cut on the waste side of the cutline, guiding the beveled edge along the auxiliary fence to create identical rhombus blanks.
How To Make a 3D Cube Cutting Board
The assembly process requires precision and patience to achieve the desired 3D effect.
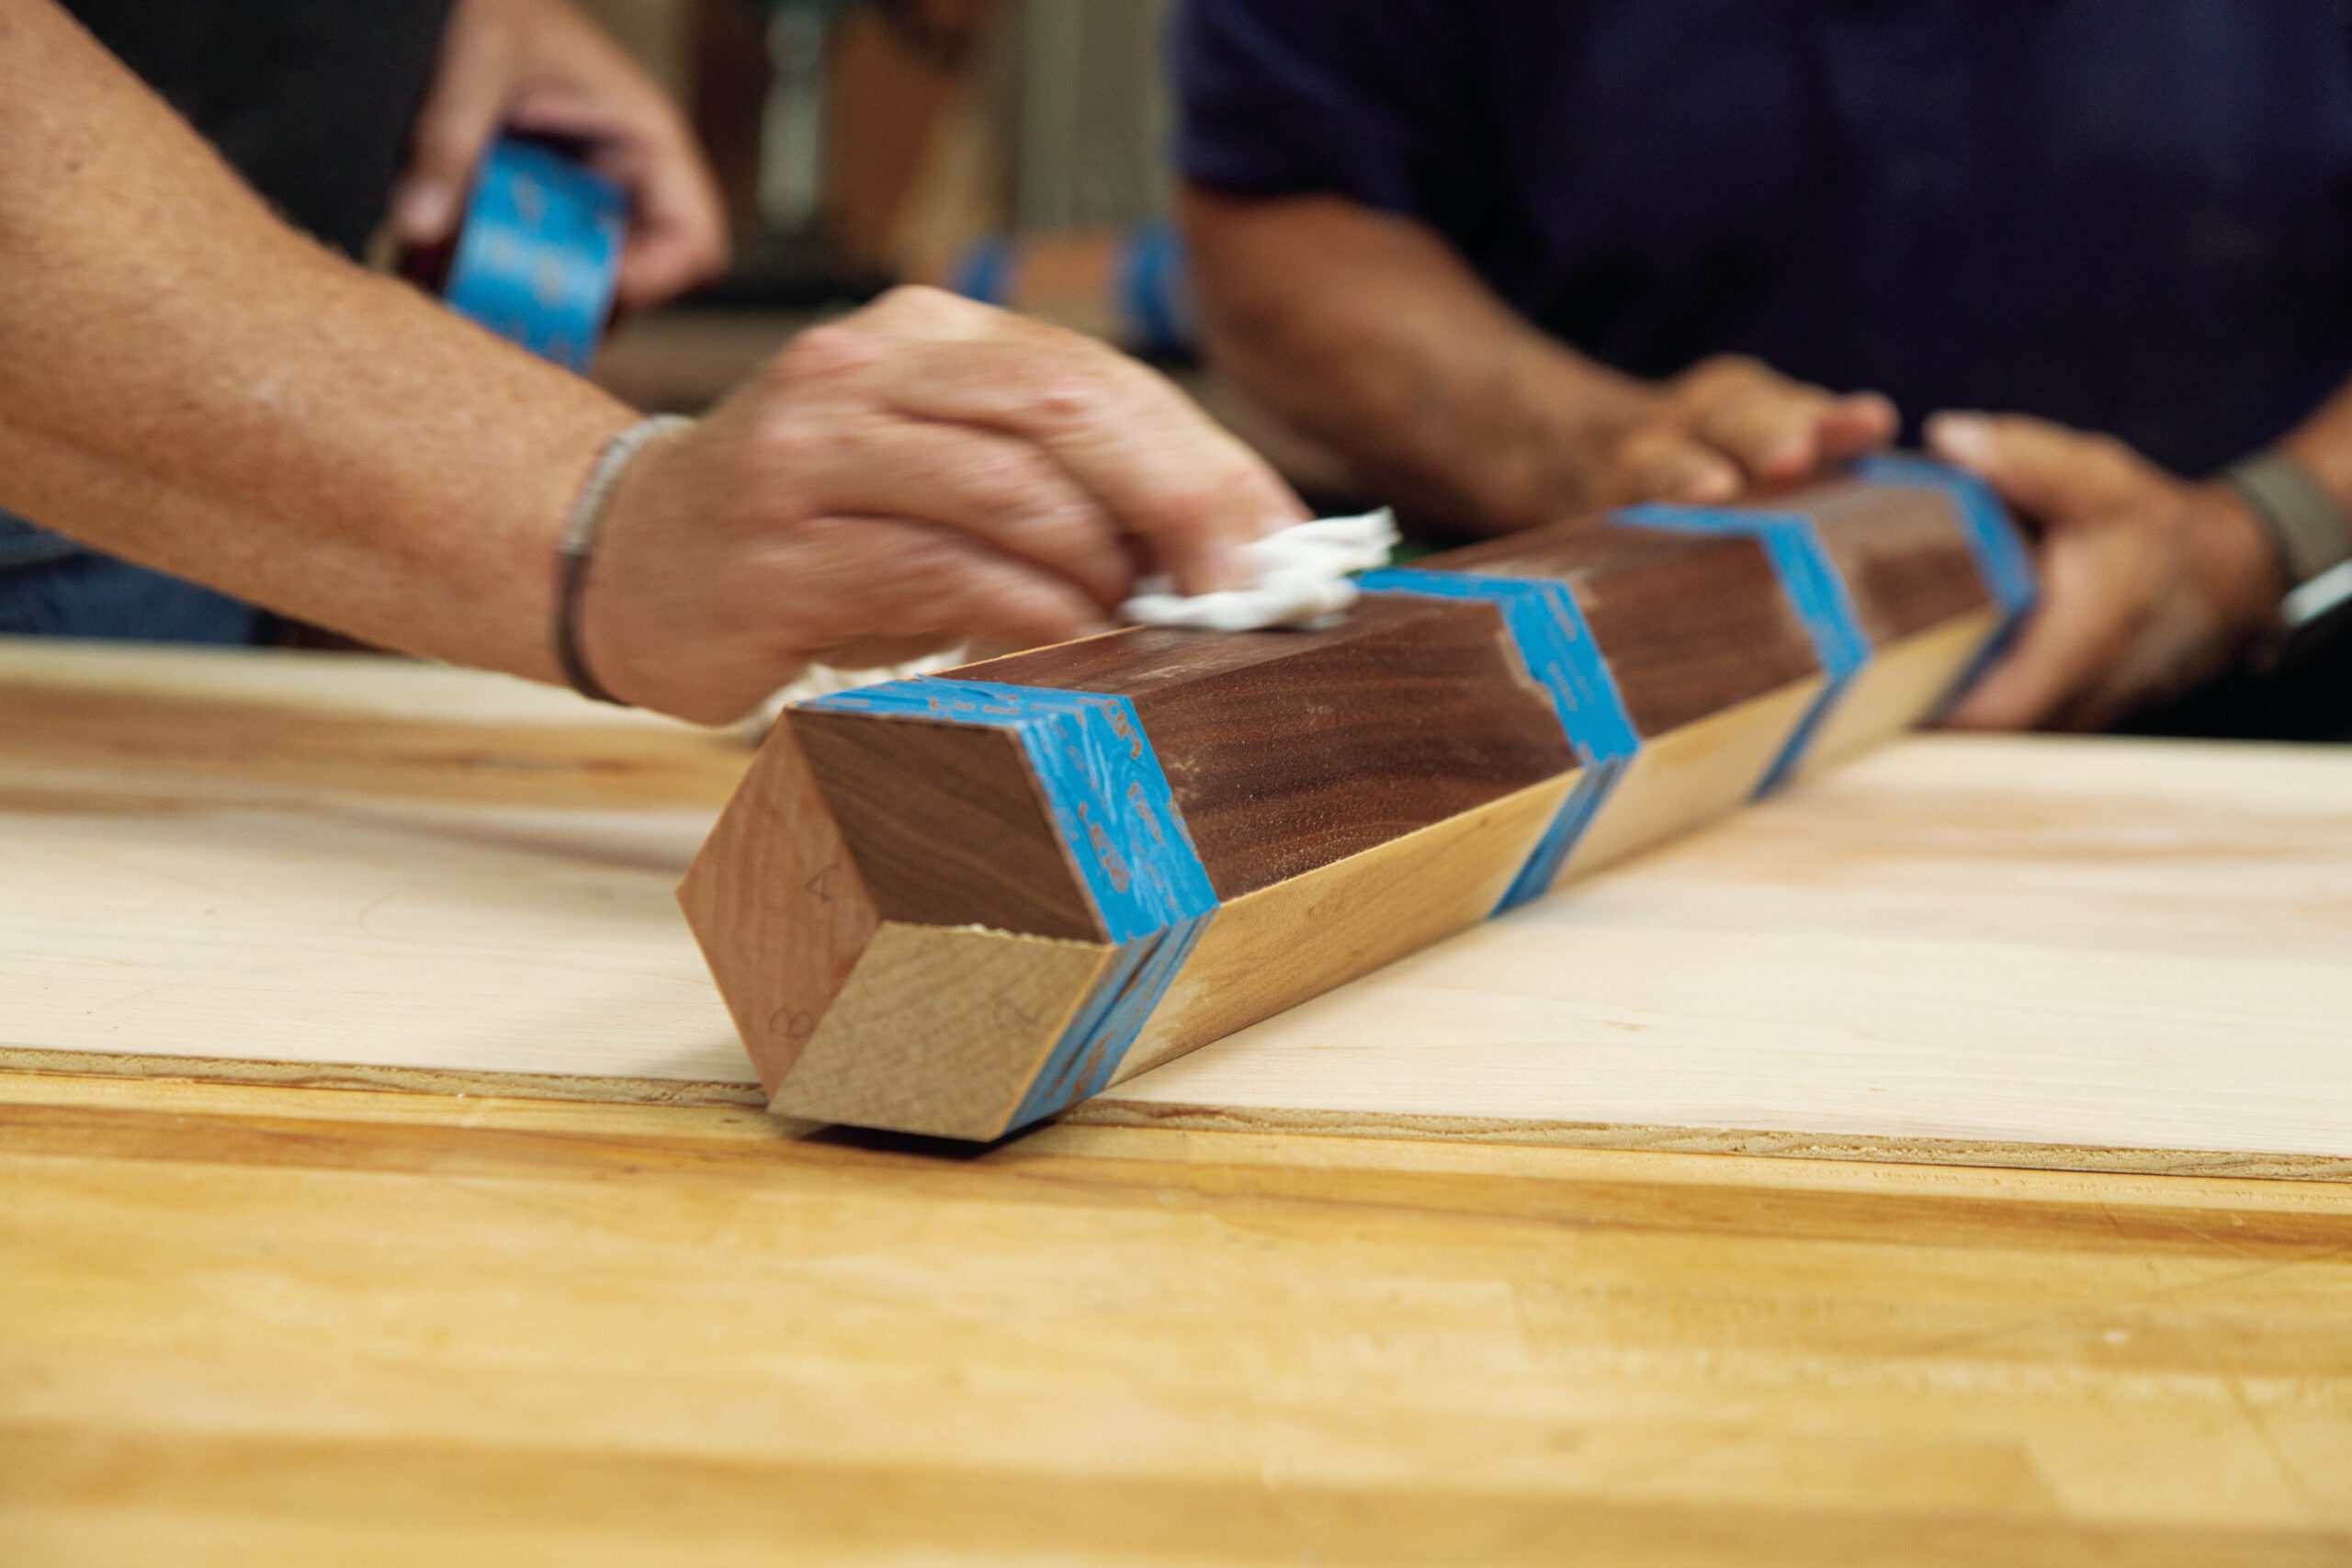
Gluing the Pieces Together
First, you’re going to glue your three cut pieces of wood together:
- Apply a thin coat of wood glue to the joining surfaces of the three rhombus blanks.
- Press the pieces together to form a six-sided piece.
- Wrap painter’s tape tightly around the glued pieces to hold them in place.
- Wipe off any excess glue and check that all edges align properly.
- Allow the glue to dry for about 30 minutes before removing the tape.
Creating the Cube Pattern
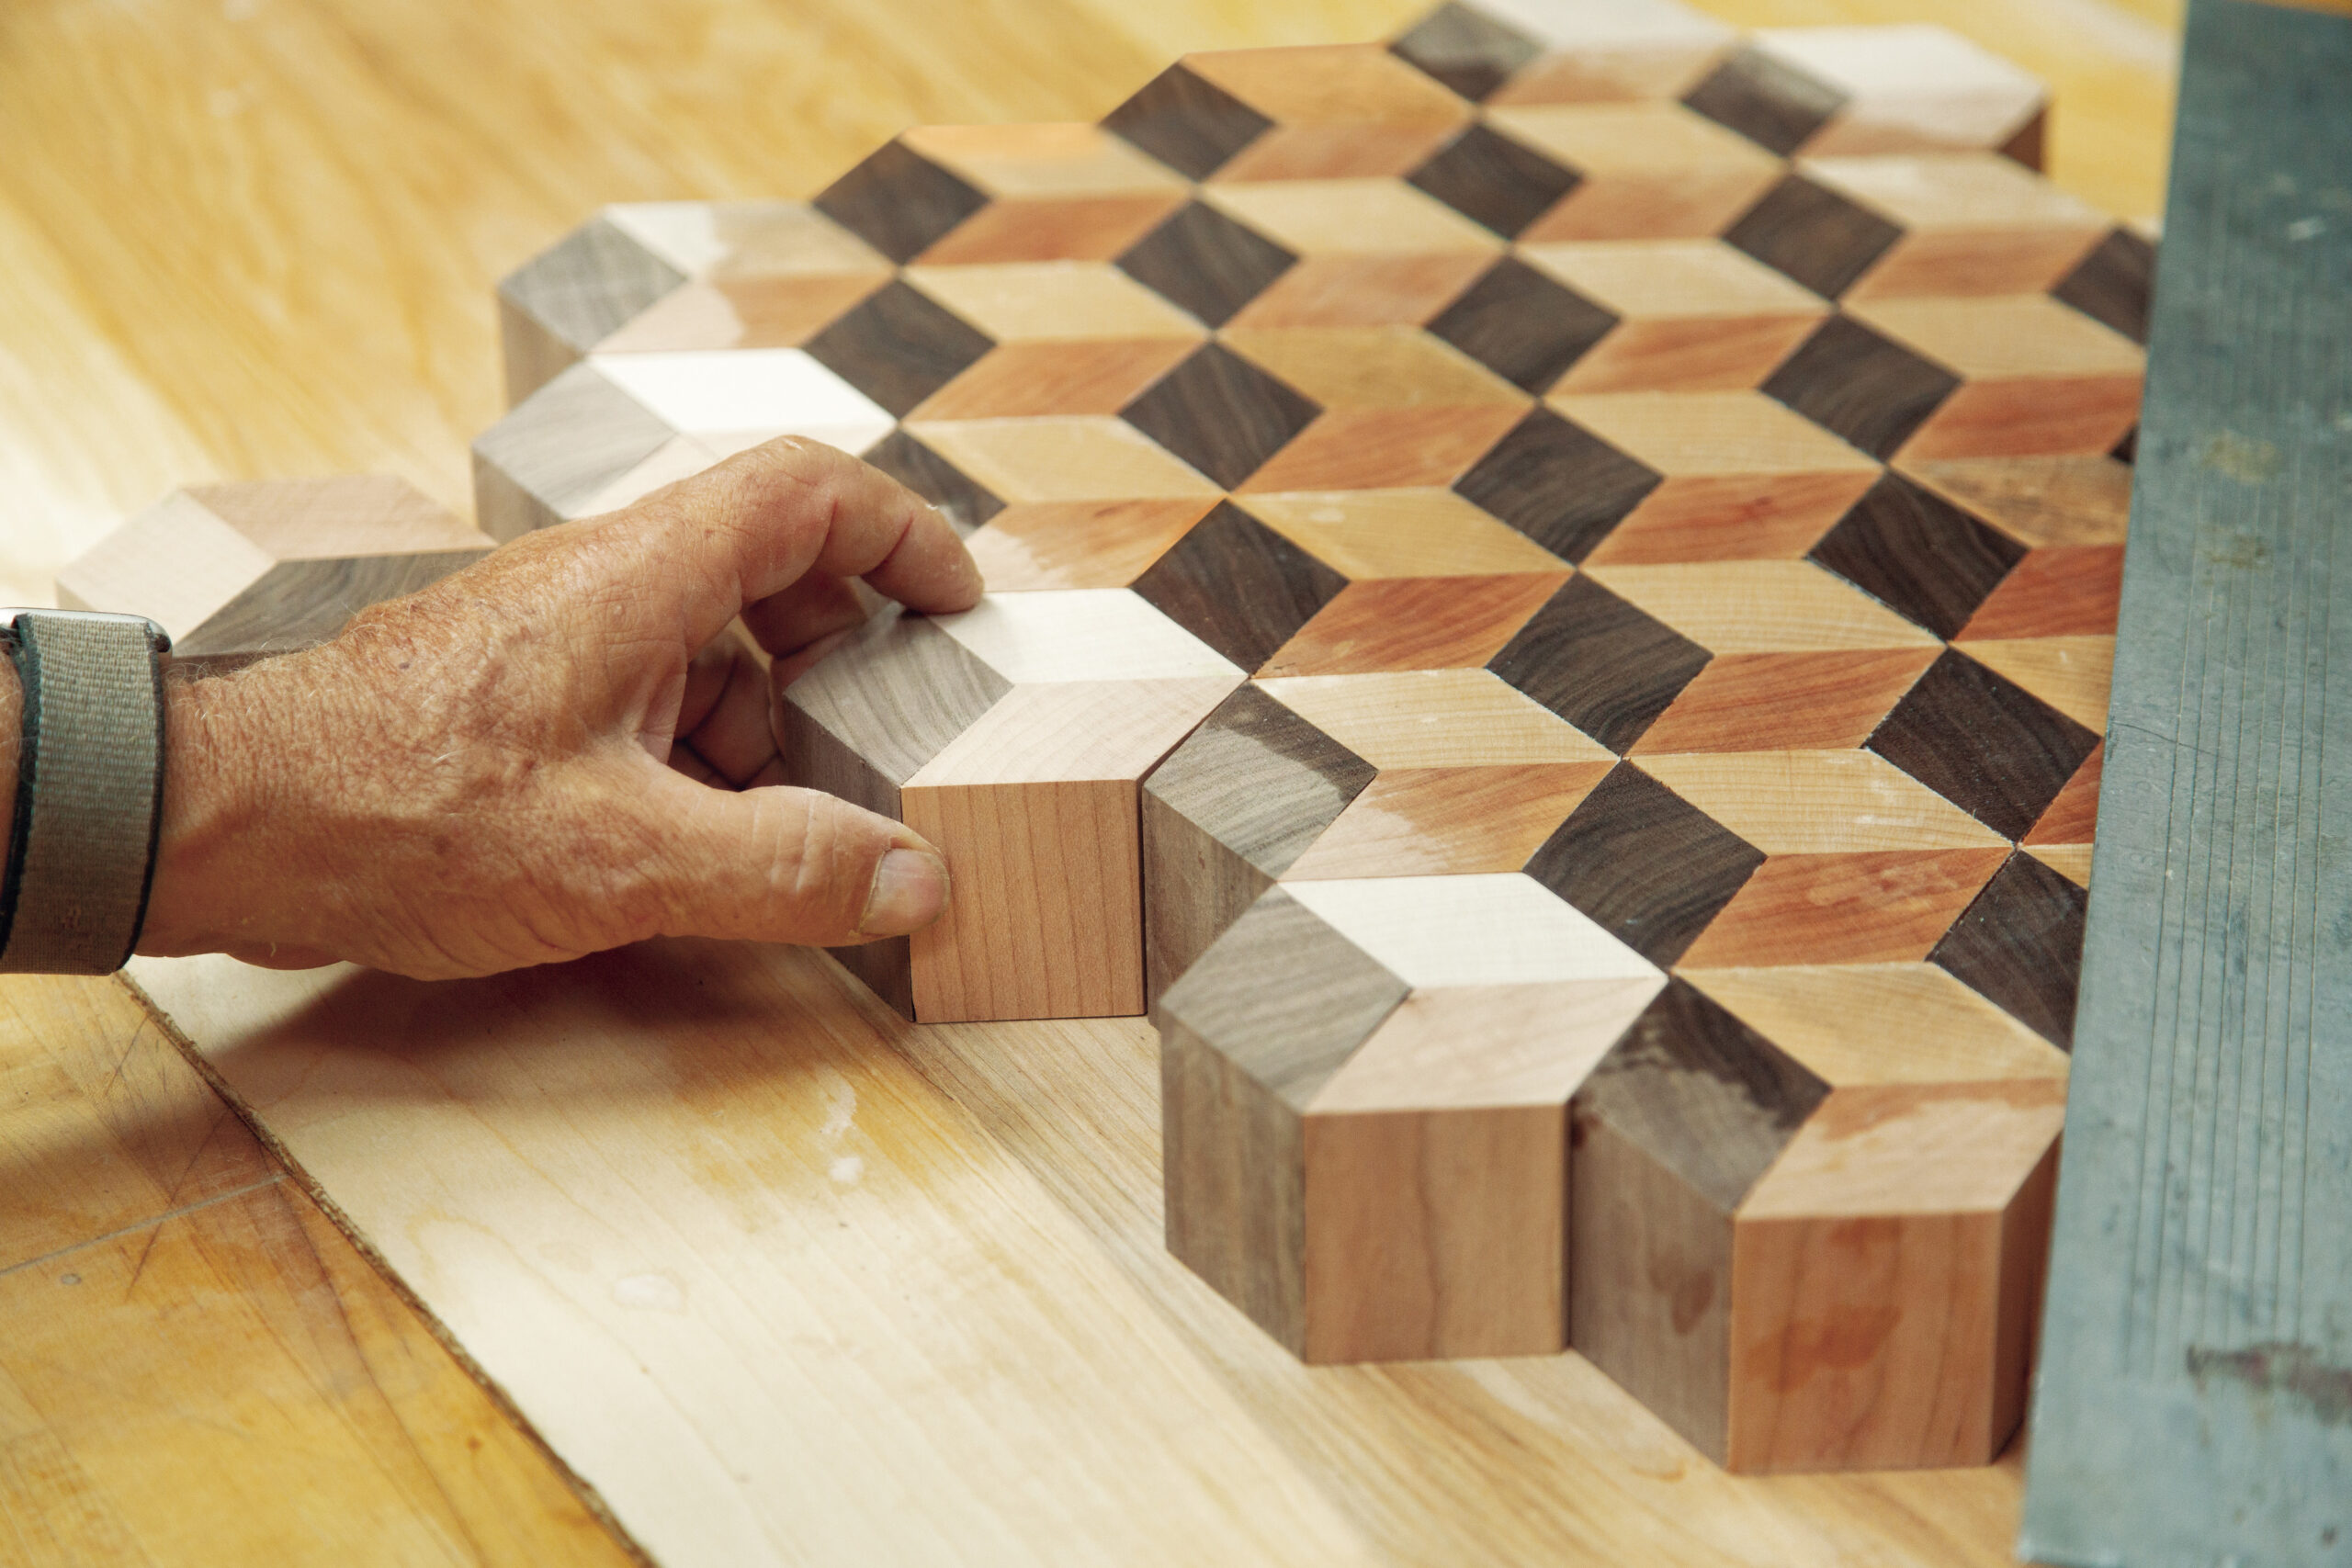
Use a miter saw to cut each six-sided piece into 2-inch-thick pucks. Cut the pucks a little thicker than the desired thickness of your cutting board, since you’ll be sanding them down later.
To complete the board, you’ll need about 36 pucks. Arrange the pieces so that the same wood species touches only at their corners to achieve the 3D cube effect.
Gluing the Pucks Together
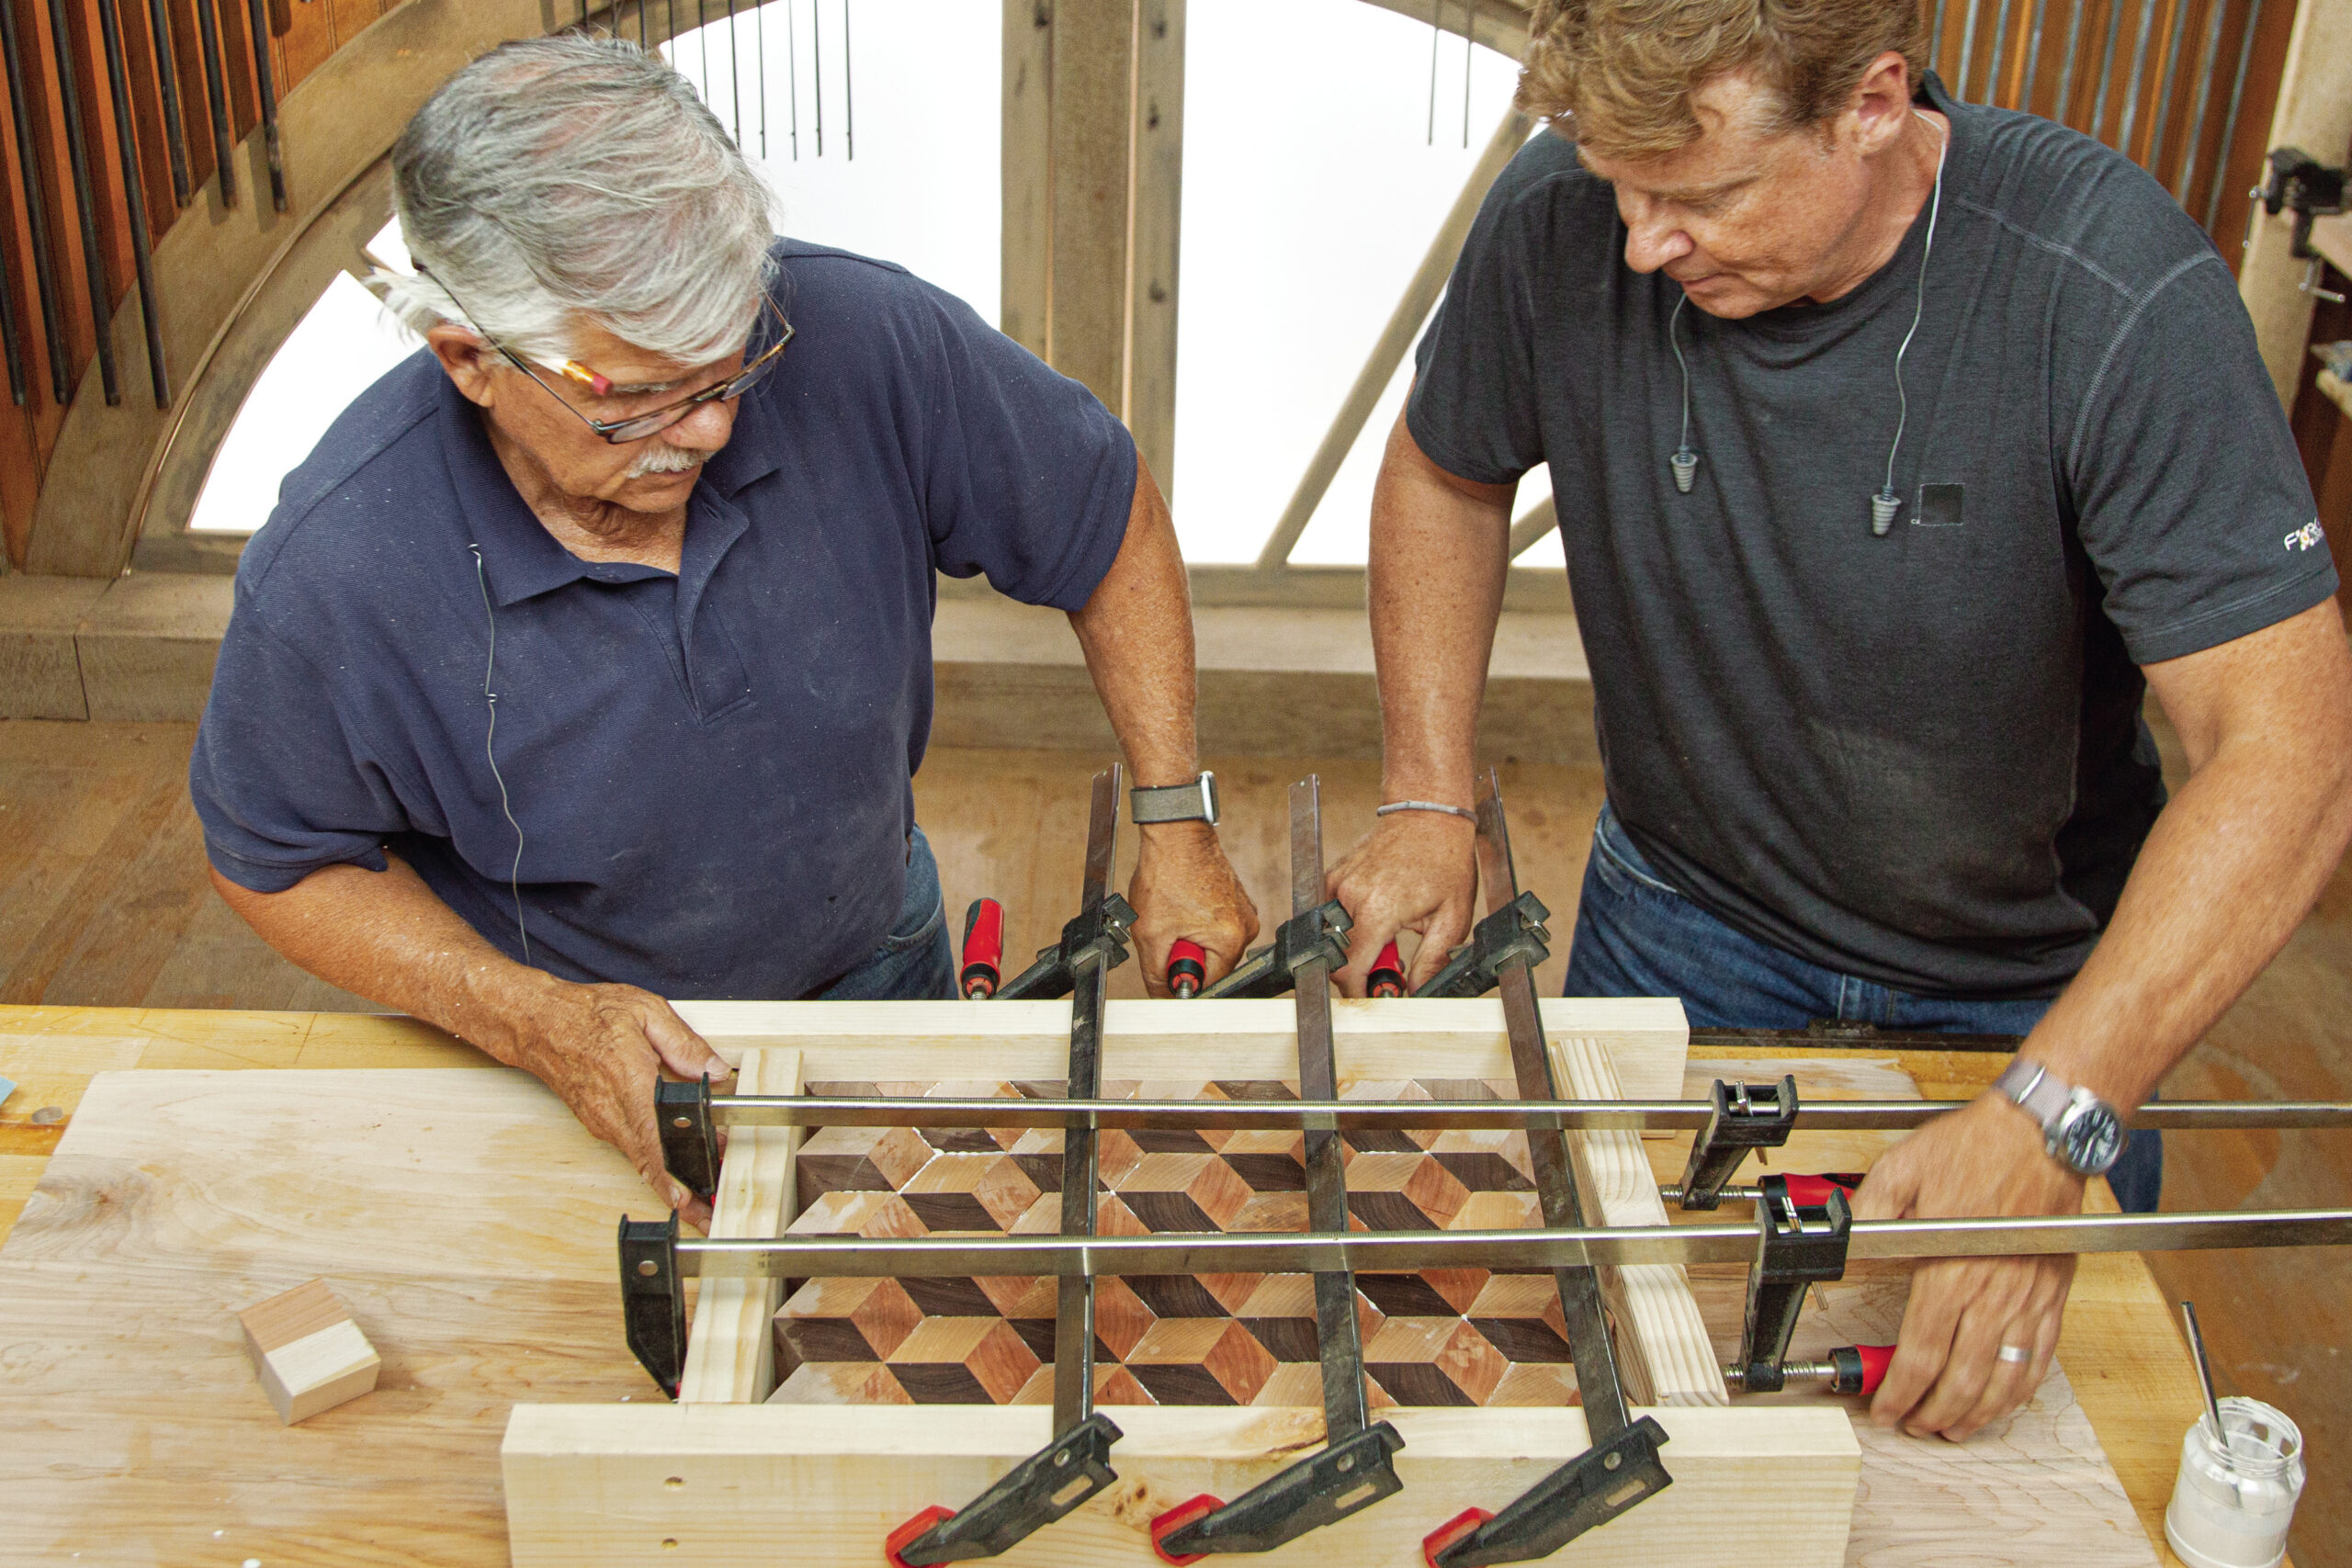
Now it’s time to glue everything together:
- Lightly sand the sides of each puck with 120-grit sandpaper. Set aside a few pieces for later.
- Wet down your work surface to prevent the glued pieces from sticking.
- Starting at the board’s center, brush glue on the pucks’ sides and arrange them according to the pattern. Avoid using too much glue—this can impact the joints’ tightness.
- Cut the set-aside pucks in half to fill in along the board’s edges.
- Surround the glued pieces with 1x3s and clamp them together (see image above).
- Wipe up any excess glue that squeezes out.
3D Cube Cutting Board: Finishing Touches
The final steps involve flattening, shaping, and protecting your cutting board.
Flattening and Filling
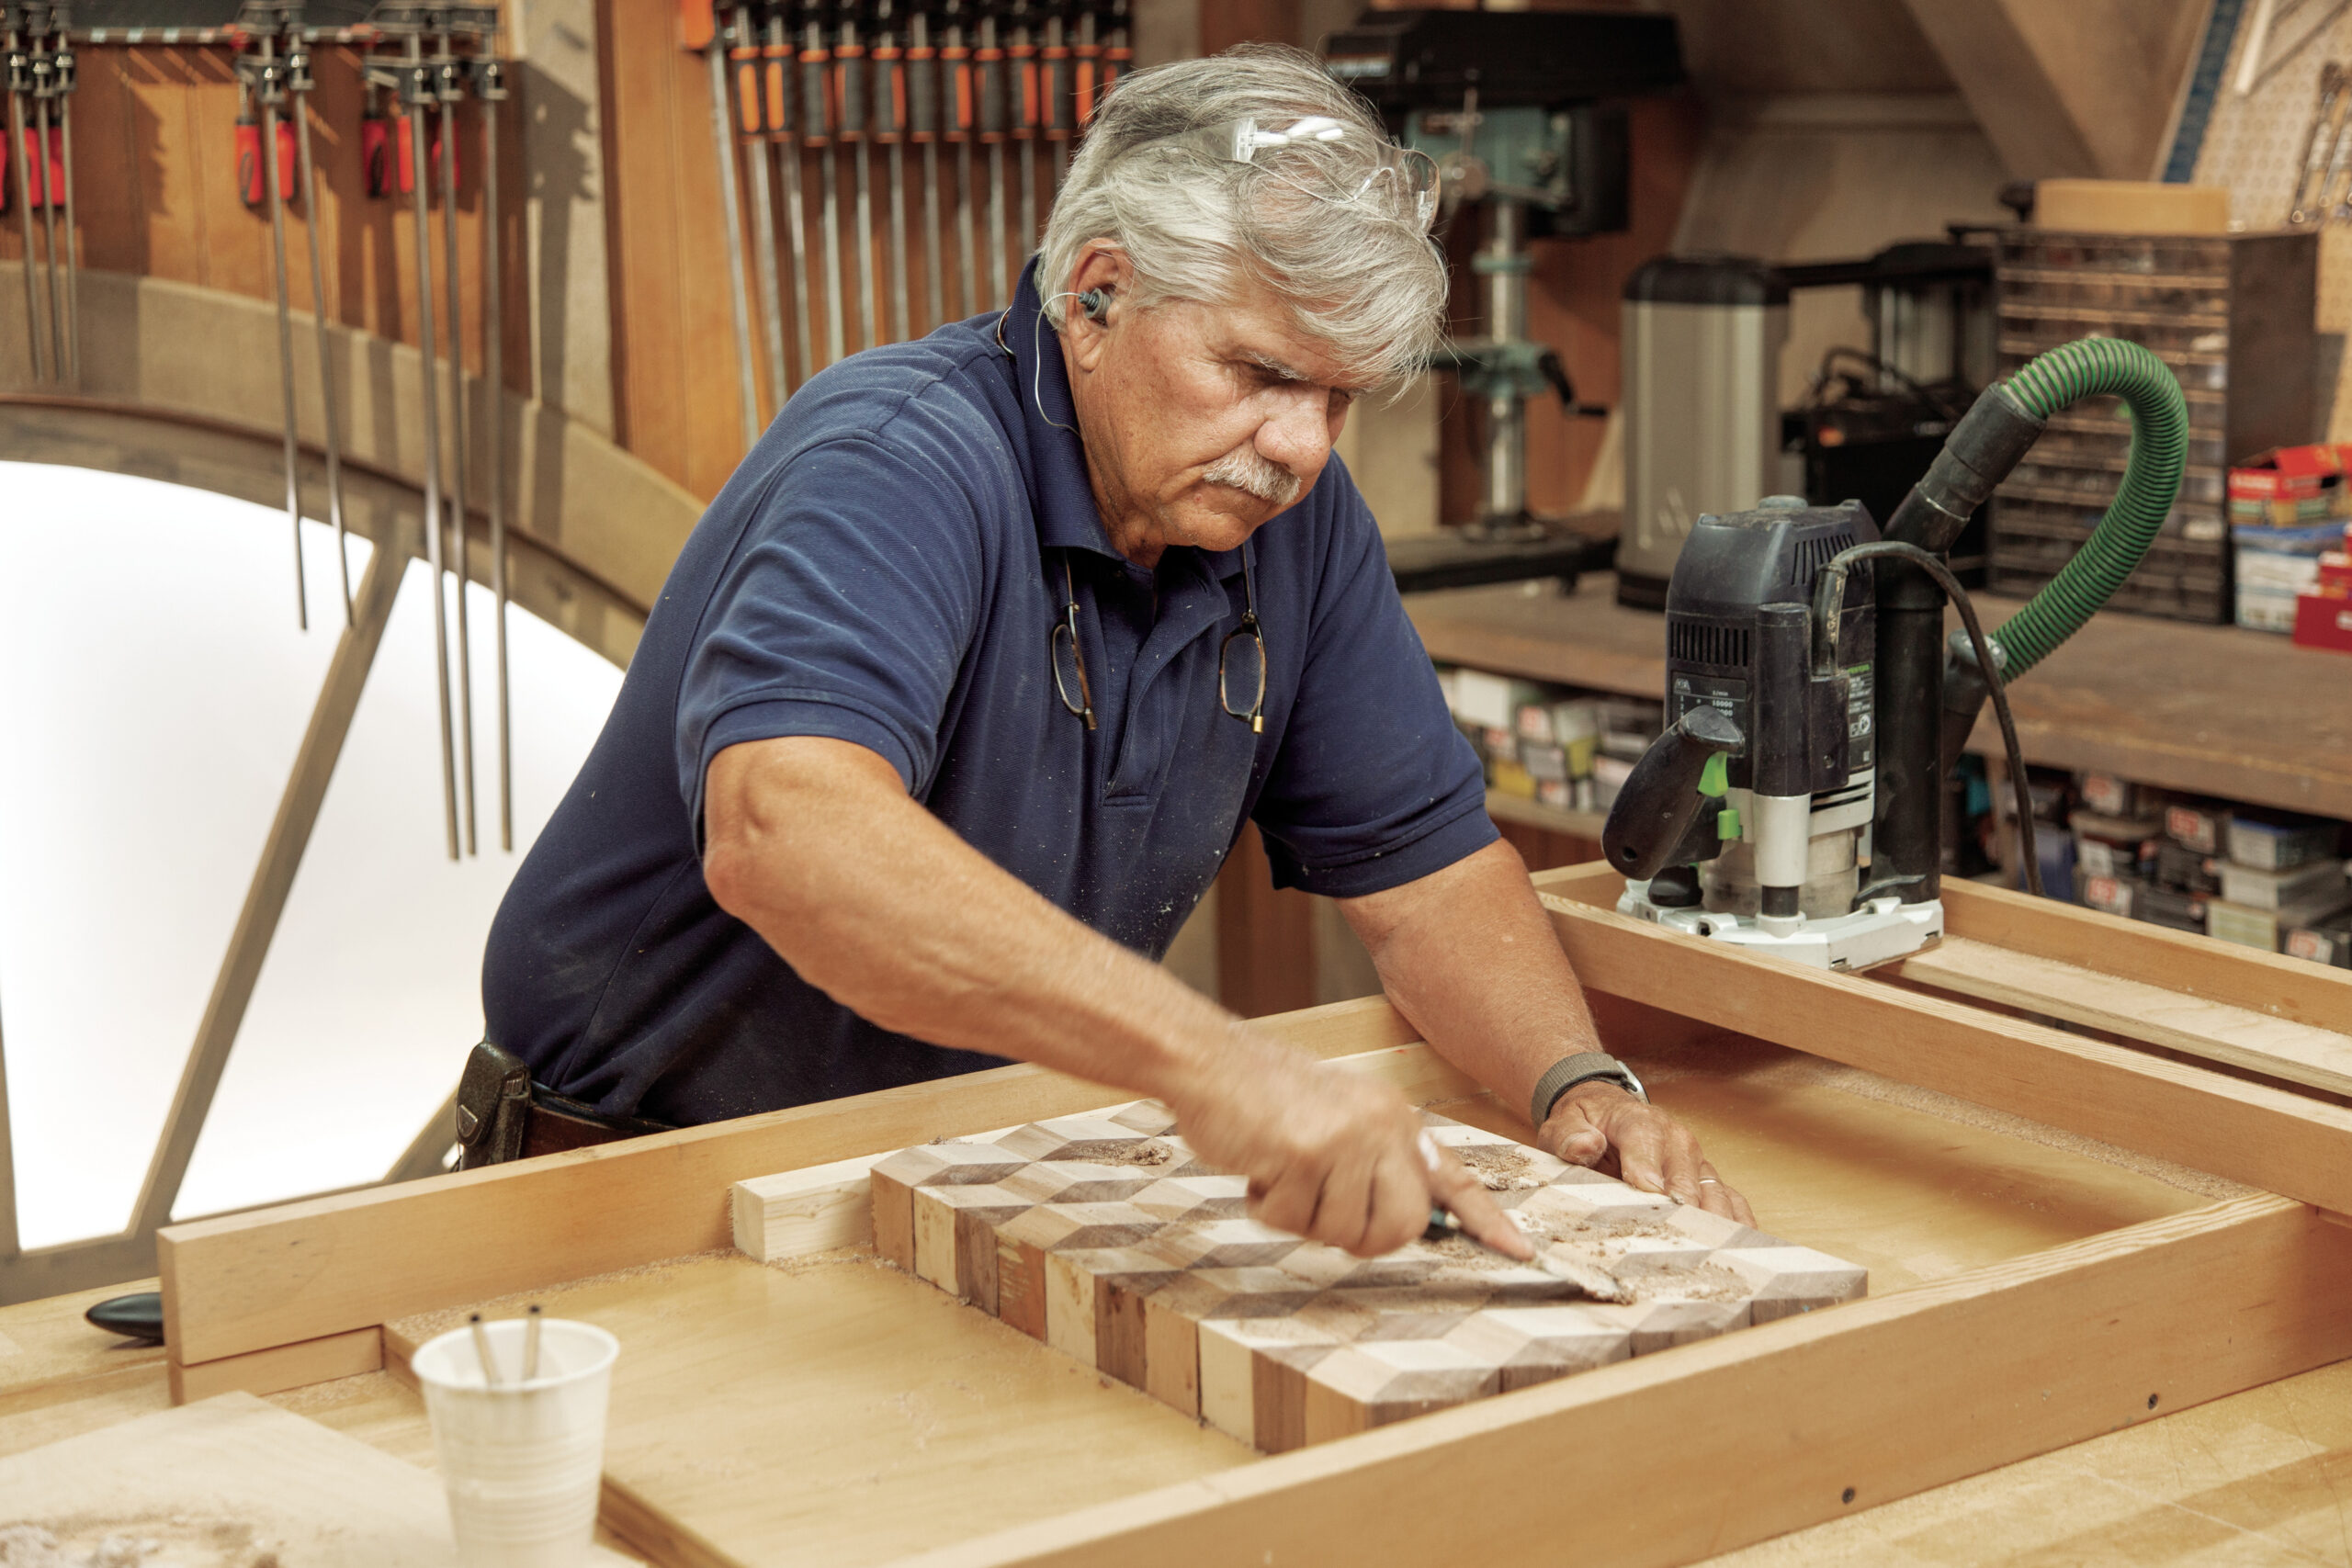
Once the glue dries, remove the clamps and flatten both faces of the board. Silva suggests using either a belt sander or a slab-flattening router jig. Mix wood glue with sawdust to fill gaps in the board surface. Put the board back in the flattening jig and run the bit lightly over both faces again, or sand them with a belt sander and 120-grit sandpaper.
Shaping the Edges

Now it’s time to shape the edges of your cutting board:
- Use a framing square to mark perpendicular cutlines on all four edges.
- Trim the edges using a track saw or a circular saw guided by a straightedge.
- Round over the edges on both faces with a compact router and a roundover bit.
- Sand the corners with a random-orbit sander and 120-grit paper.
Applying the Finish
The right food-safe finish will extend your cutting board’s lifespan:
- Give the board a final sanding on all sides with 220-grit paper.
- Clean the wood with denatured alcohol.
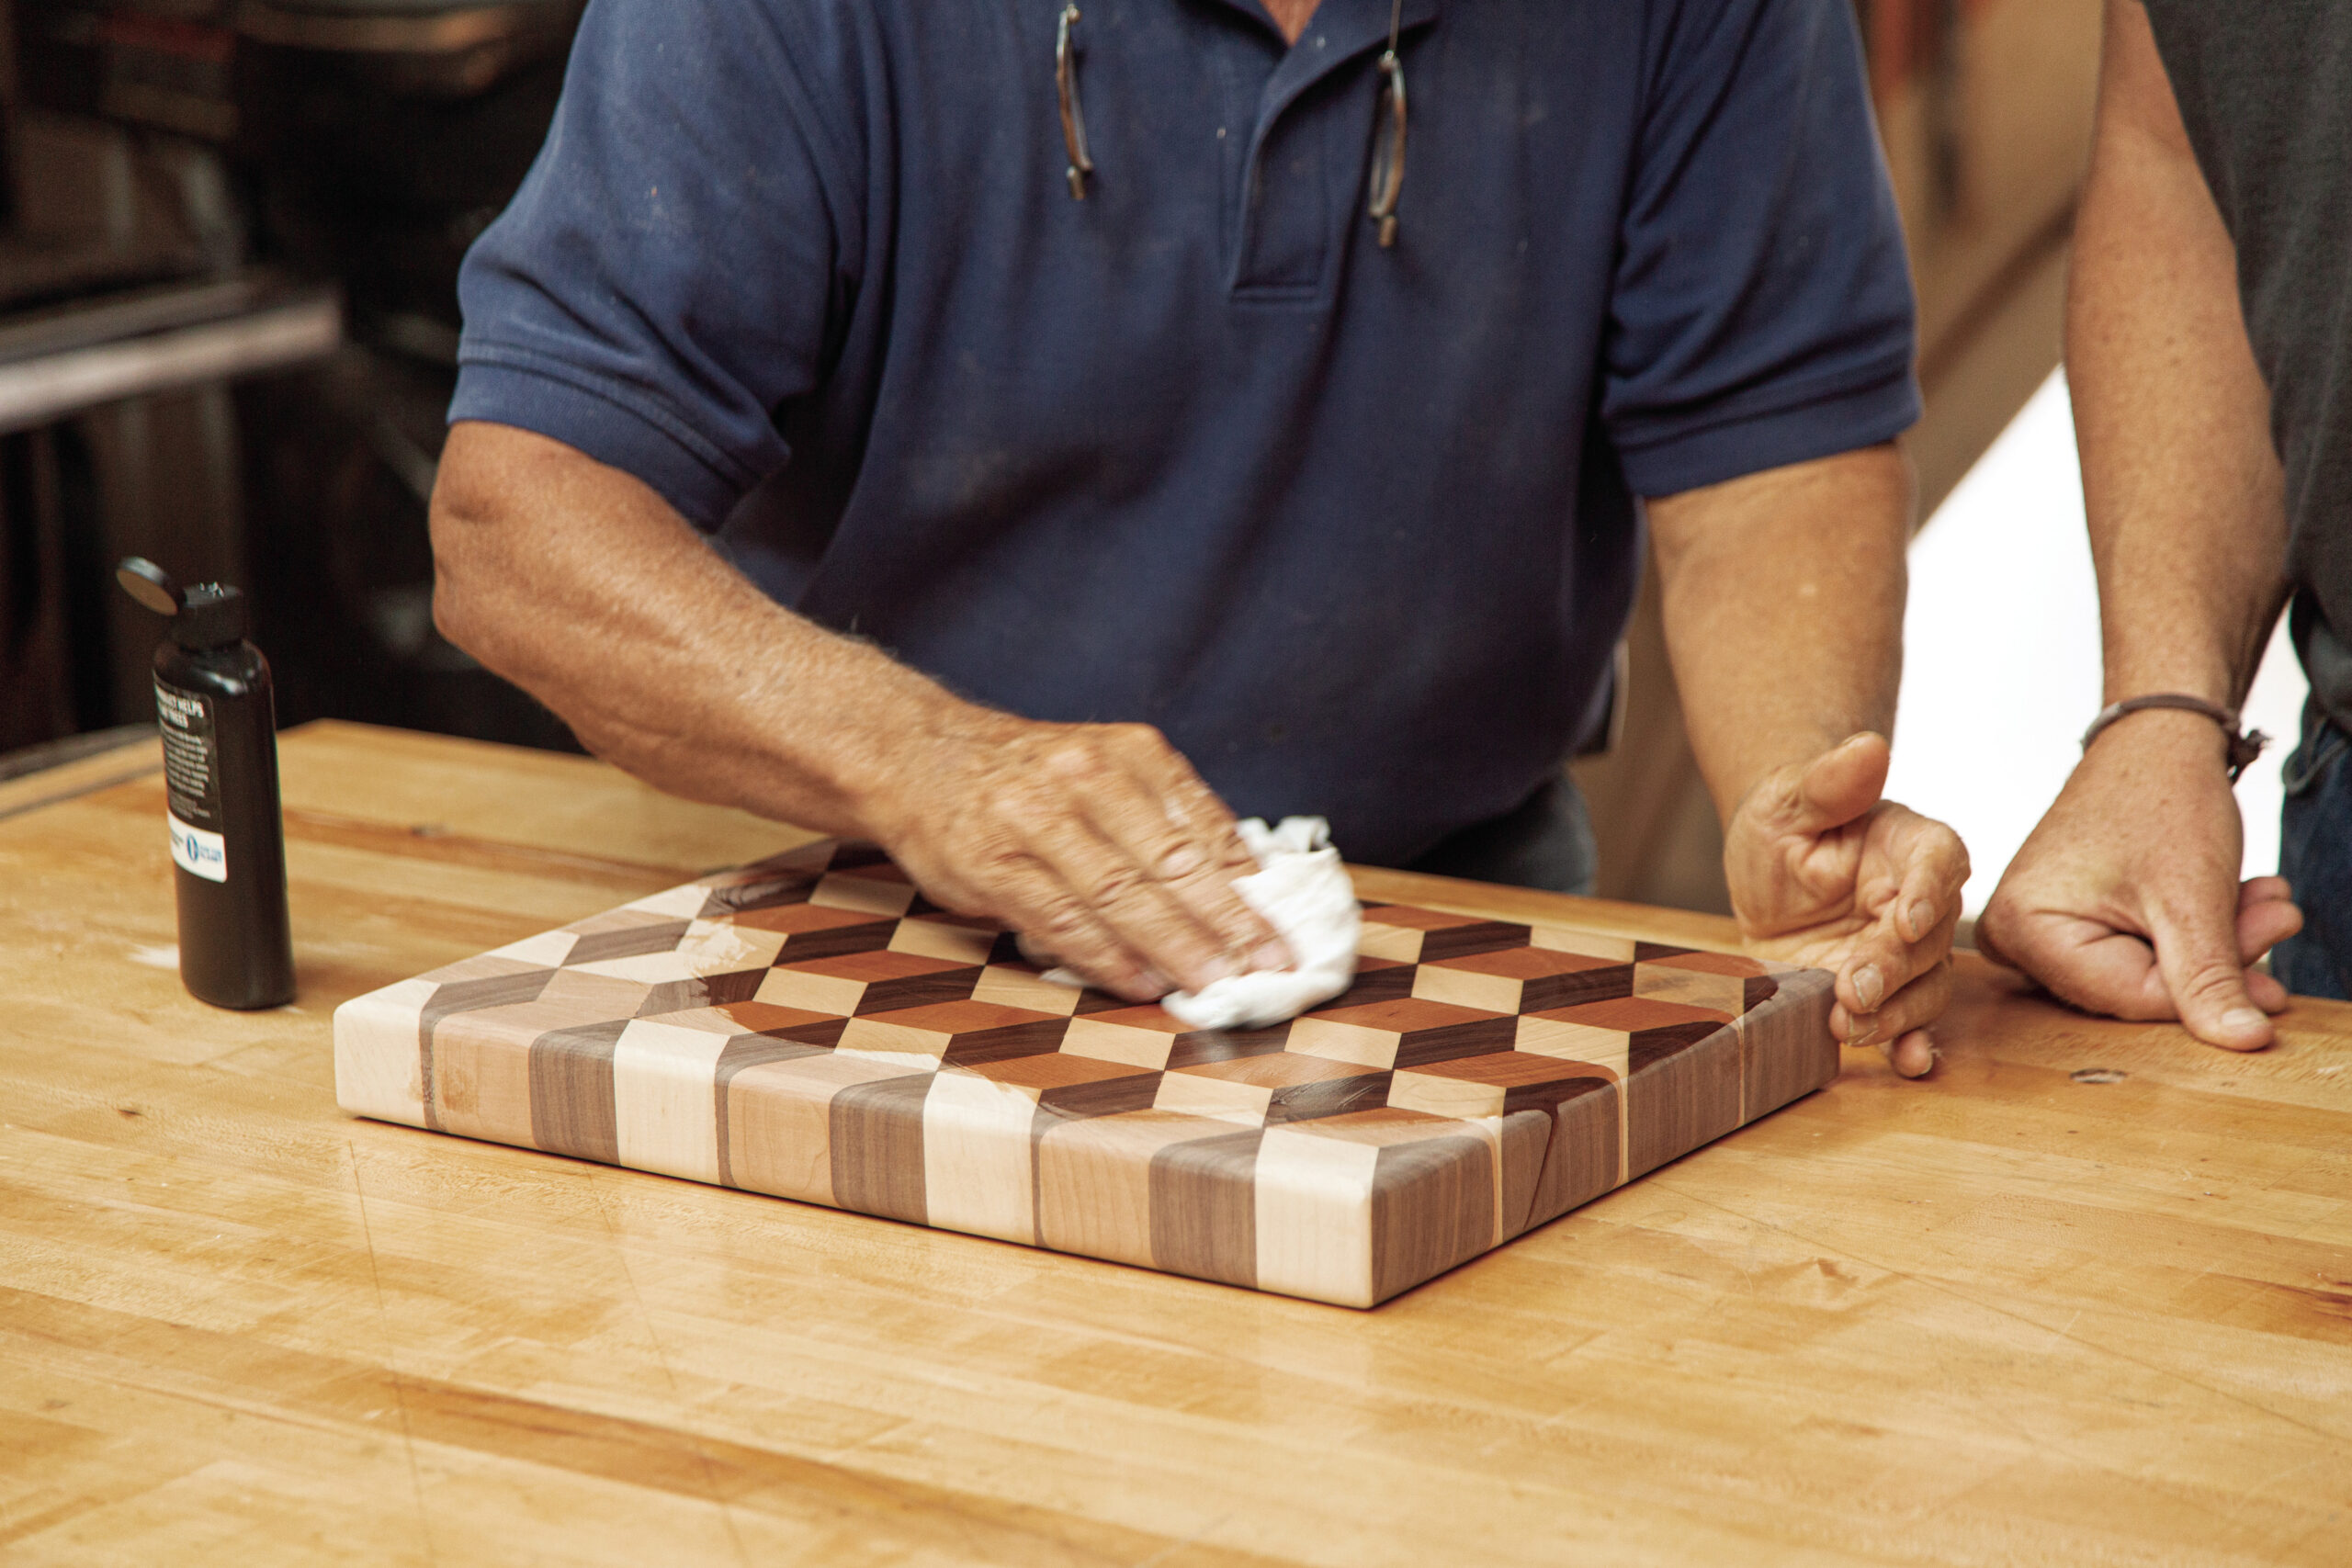
- Apply a food-safe cutting board oil to seal the wood and enhance the pattern. In the video, Silva uses one from Walrus Oil. It’s a blend of mineral oil, coconut oil, beeswax, and vitamin E.
- Allow the oil to dry for 24 hours, then apply a second coat.
We recommend reapplying oil between uses or whenever the wood appears dry.
Source: https://www.thisoldhouse.com/kitchens/22713645/how-to-make-cube-cutting-board
You may also like

